WHM and cPanel is the most widely used linux based platform which is extensively used for Web Hosting Solutions. Almost majority of the Web Hosting providers uses WHM and cPanel as a Dedicated or Shared Hosting Solution for their Customers.
WHM Stands for Web Host Manager is a backend for cpanel account and Provides Admin rights to manage it. Using the WHM You can Create multiple cpanel Account which would be user specific and can also Sell cpanle Web hosting solutions to your customers. You can access the DNS Zones of all the domain, You can have full Control Over your cPanel user account, like delete, create, suspend etc., Can manage multiple end user cPanel account, Can define the resource Quota etc.
cPanel is a linux based control panel and the Account for which is being created from the WHM. Every end users will have an individual cpanel account where they will manage their own data related to their websites which will completely be isolated from other cPanel account. cPanel is very easy to use and comes with wide variety of interactive modules. You can have full control on managing files, Email Id’s, Domains, subdomains, SSL, FTP, Databases, Security, Monitoring and logging, Web applications platforms like, Php, WordPress, joomla, drupal etc,
So in Short, What is the difference between WHM and cpanel?
WHM is a Reseller control panel. Used by resellers to manage all the hosting accounts (cPanel) of their reseller plans.
cPanel is the control panel used by the end users under a reseller of hosting provider. It is used by customers to manage their own hosting accounts.
We will be creating a Series of Blog for this topic and after going through it, you will be easily able to have your Own WHM/cpanel account where you can host your website. This series will cover below topics,
1. Installation and Configuration of WHM and Setup cPanel Account
2. Hosting a Simple Website Using Test Domain.
3. Creating an Email and FTP account
4. Migration of WordPress Website to cPanel
5. Migration of mail Account from one cPanel to Other
6. Using free SSL Certificate.
7. Http to Https Redirections
8. Upgrade/Downgrade MariaDB Version for WHM/cPanel.
Let’s get Started. Login to your Centos Server and execute below commands
Note: For now, WHM and cPanel can only be installed on CentOS Server. It does not support other Linux Flavour for Instalation. For redhat server It can only be installed if you have redhat subscription manager.
$ sudo su -  // Elevate to the root user
# yum update -y
cPanel Provides a Script which runs and automatically downloads all the required packages and Install to the System. Installation process is very Simple.
Note: Make Sure to elevate the user permission to root. Installation of cPanel will take upto 5 Mins to Finish.
Execute the Below command and wait for 5 mins till the installation finishes.
# cd /home && curl -o latest -L https://securedownloads.cpanel.net/latest && sh latest
# /usr/local/cpanel/cpkeyclt
Grab the public Ip of the Server and hit on the URL and check Whether WHM Page appears or not.
https://Public_IP:2087/
make sure to use https along with the port 2087. It uses Self Sign certificate so Just accept the not safe exception and move ahead to the login page.
Alternatively, If you are using AWS Account , You can also use the WHM and cPanel Official AMI Image from the Market place to Set it Up. Market Place AMI does not have any additional charges involved, It comes for free
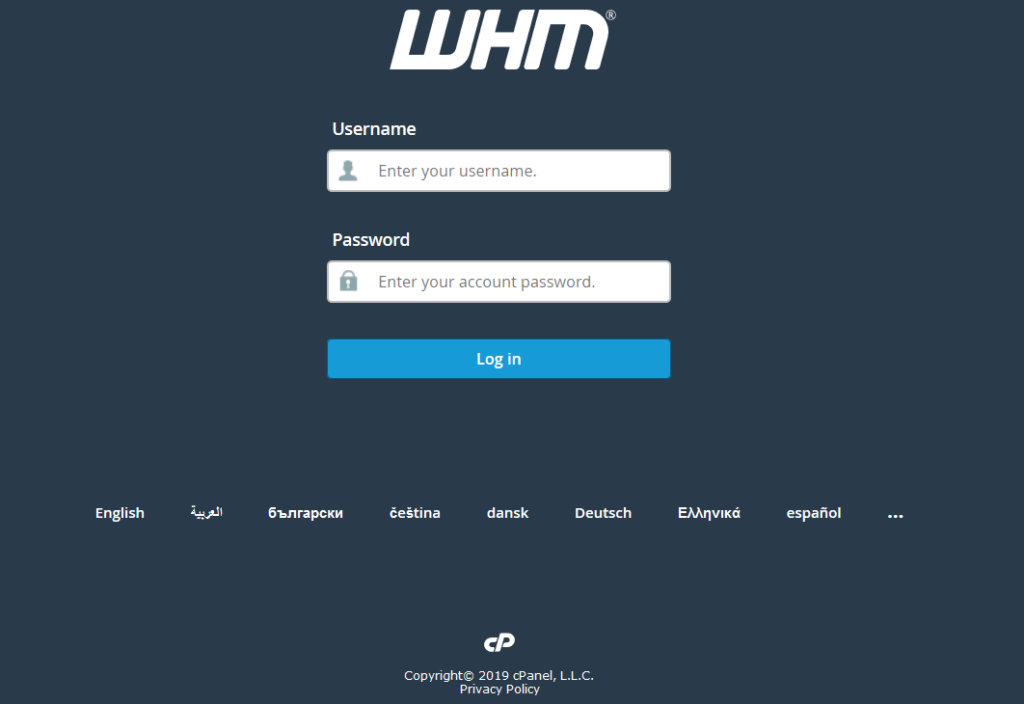
In Order to login to the WHM Account You have to user the root user. make sure you set the root user password
# passwd root
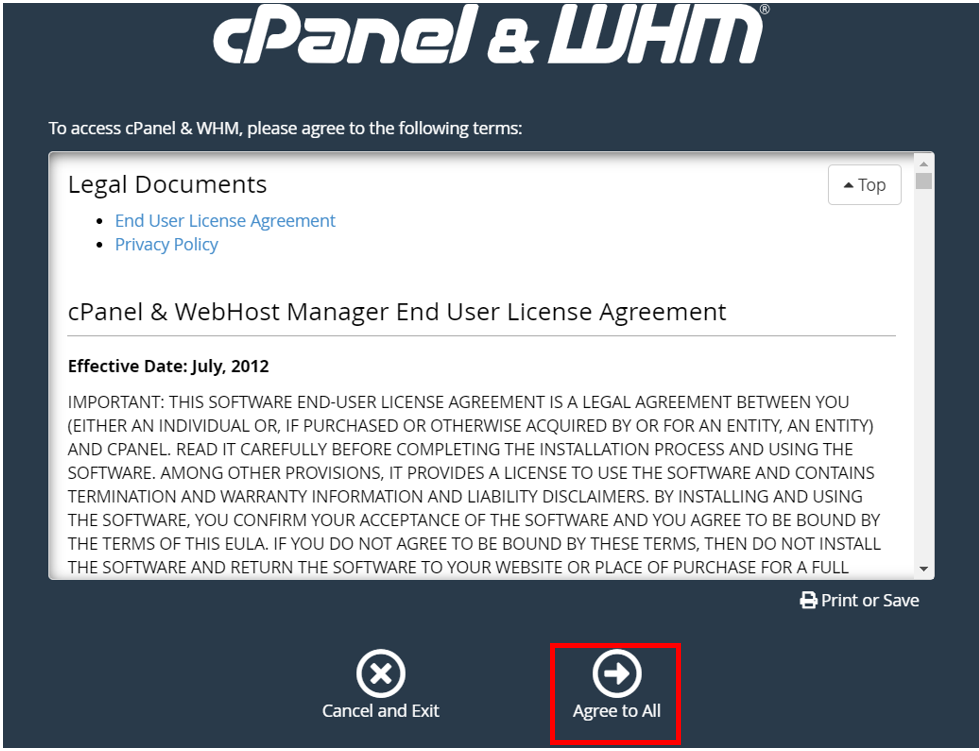
Once Logged in, Accept the terms and condition and Click on Agree to All.
Now, Provide the Email Address to which you want to receive the Status and the error messages. Also let the NS record as it is and Click Finish. You can also set your own NS Record name.
You may asked to gracefully reboot the server for the first time. do so and wait for the Server to come up. Refresh the page and your WHM home pag will look something like this.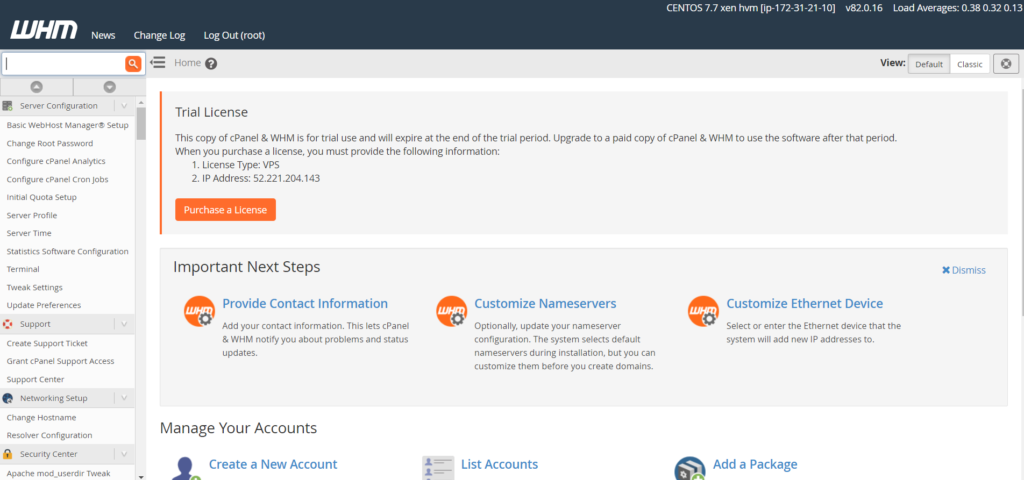
Note: WHM is not a free Platform to use. It you want to use it then you have to pay for the license cost. look here to know more about the pricing plans
Creating cPanel Account
In Order host your website or application, you need to have a cPanel account which you have to create from the WHM Console.
Click Create a New Account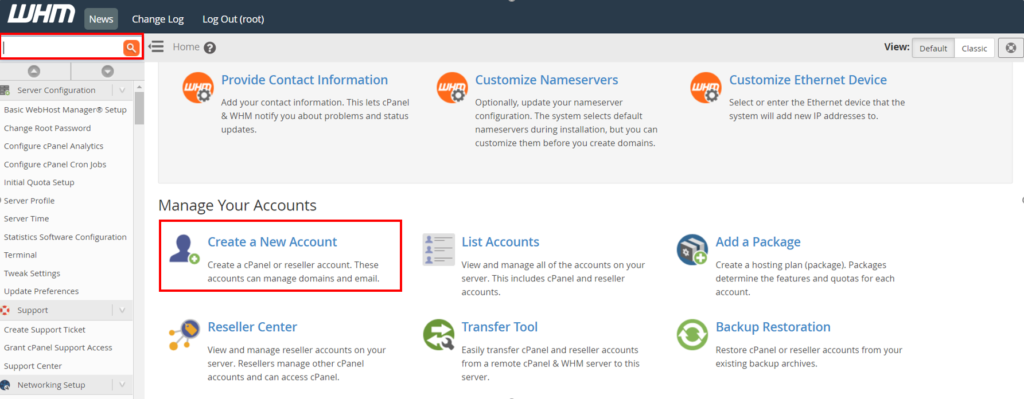
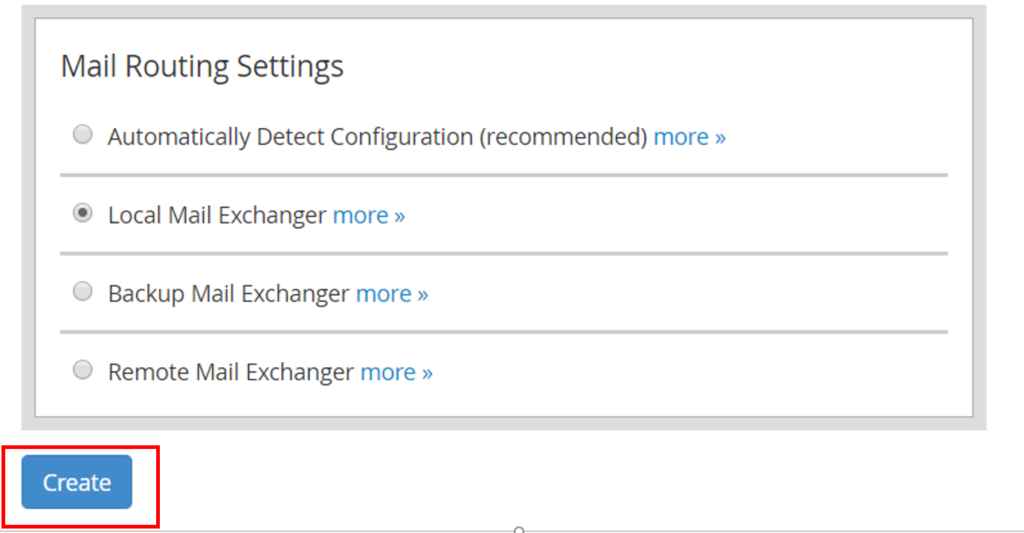
Fill Out all the Domain and user Information and Click Create.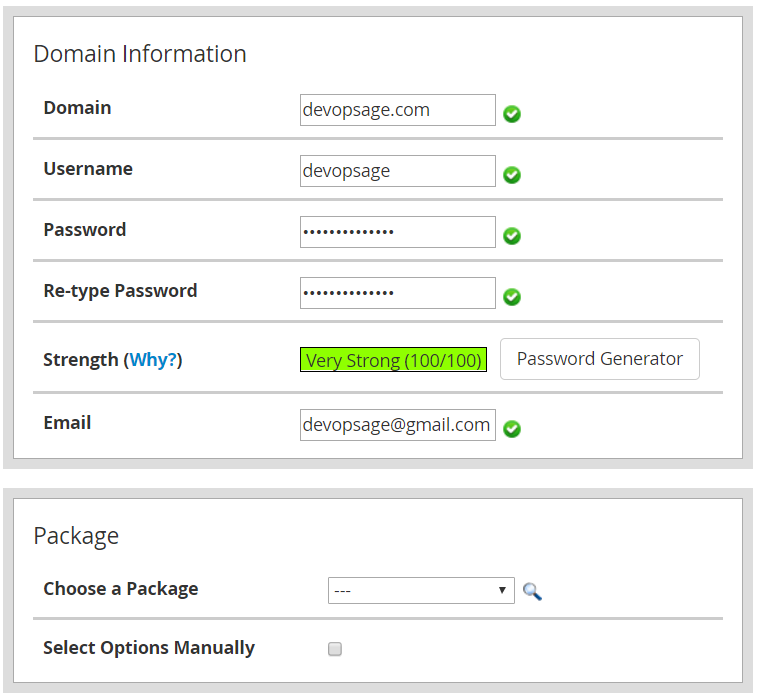
Click on Go to cPanel and you will be redirected to the cpanel Account.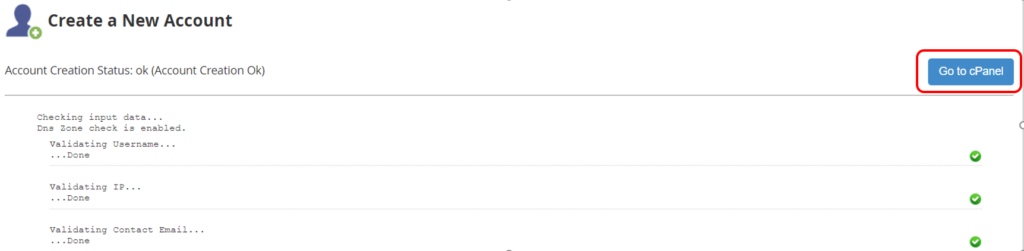
Additionally user IP:Port to Open cPanel account.
https://Public_IP:2083
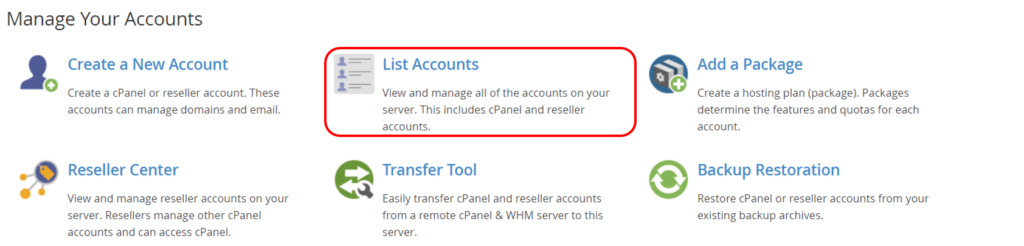
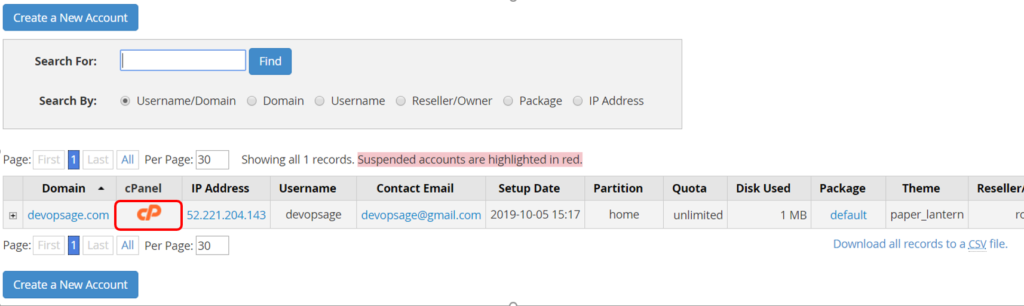
Click on List Accounts in WHM to see all the cPanel Account.
Click on the cPanel Icon to get redirected to the cPanel Account.
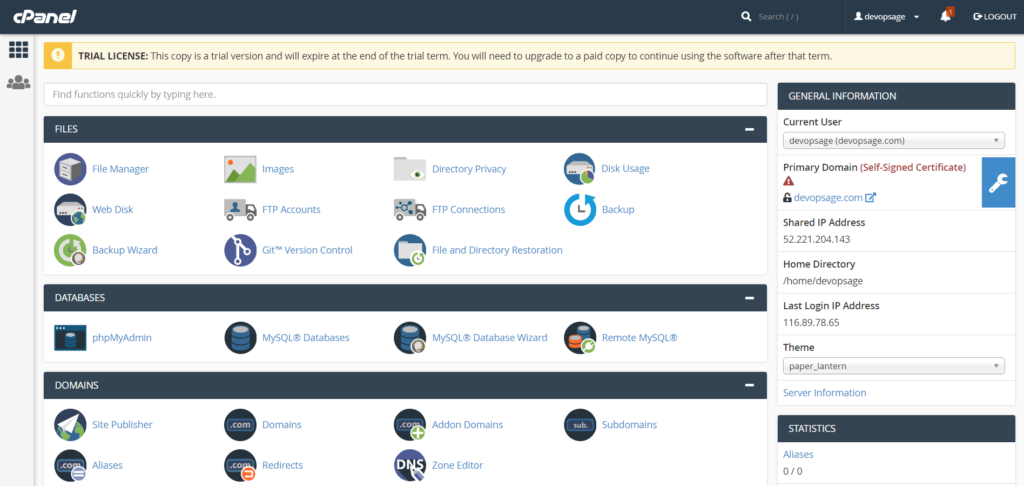
Home page of the cpanel looks like as shown in the Screenshot..
If you Like Our Content here at Devopsage, then please support us by sharing this post.
Please Like and follow us at, LinkedIn, Facebook, Twitter, and GitHub
Also, Please comment on the post with your views and let us know if any changes need to be done.
Thanks!
You May also need to look at below Blogs,
Basic WHM Configuration and Hosting a Website in cPanel Account – Part 2
How to Install WordPress on Top of LAMP Stack on Ubuntu and Redhat/CentOS7 Server.
How to Create Email and FTP Account in cPanel – Part3
How to Redirect Primary Domain to a Specific Folder in cPanel.
Issue – cPanel Email Going to Spam.
Unable to Login cPanel FTP with Failed to Retrieve Directory Listing Error
How to Migrate WordPress Website to cPanel – Part 4
How to Migrate Email Accounts from One cPanel to Another – Part 5
How to use an SSL Certificate for your cPanel Website for Free – Part 6
Redirect HTTP to HTTPS for your Website on cPanel – Part 7
How to Upgrade and Downgrade MariaDB Version in WHM/cPanel – Part 8
cPanel – phpMyAdmin asking for Username and Password. Error – Access Denied.