By default when you enable SSL on your website it does not get redirected automatically, though if someone uses https://www… manually in the URL, then he will be able to make secure connection but usually no one put https before running any website. So this need be redirected automatically to https in order to make secure connection. In our previous blog you can see how we can get a SSL Certificate for our website for free.
Let’s See how to force https for your website runninng on cPanel/Wordpress/Apache.
1. In cPanel.
Login to your cPanel Account and Search for Domains.
Scroll Down and make force https redirection to On as Shown in the Screenshot below.

This will force http to https redirection for your website.
2. Using .htaccess in cPanel.
- Login to cPanel and go to FileManager.
- Click on public_html
- Create a hidden file with .htaccess
- Put below content to .htaccess, If file already available there then add the below syntax at the end.
 RewriteEngine On
 RewriteCond %{HTTPS} off
 RewriteRule (.*) https://%{HTTP_HOST}%{REQUEST_URI}
Save the file. Also make sure that there is no duplicate RewriteEngine On. Check refreshing the page, It should be redirected to https.
3. Using .htaccess in Apache.
If you have running your website on Apache then you have to perform almost the same operation as above with slight changes.
Login to Linux Server and Nevigate to Document root.
# cd /var/www/html   // or your defined document root.
# vim .htaccess       // paste below content and save the file.
RewriteEngine On
RewriteCond %{HTTPS} off
RewriteRule (.*) https://%{HTTP_HOST}%{REQUEST_URI}
After making above changes make sure to verify the apache configuration.
# cd /etc/httpd/conf
# vim httpd.conf
// make sure below line is uncommented.

LoadModule rewrite_module modules/mod_rewrite.so
As we did the config changes, we have to restart the httpd service in order to reflect the changes.
# sudo systemctl restart httpd.service
That’s it.. force https is now enabled to your apache Website.
4. In Cloudflare.
Login to your Cloudflare account and Click on SSL/TLS Icon at the Top and Nevigate to Edge Certificates.
Scroll down and Enable Always use HTTPS Option
5. Using WordPress Plugin.
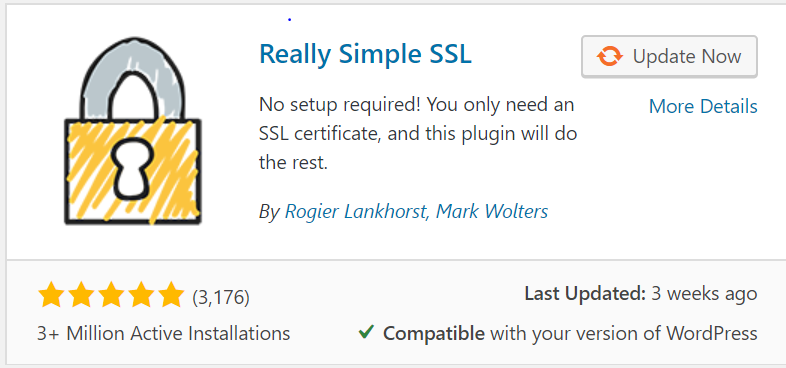
Login to yout wordpress as an admin, go to plugin => add new => Search for Really Simple SSL.
Insall this plugin, Activate and Enable it which will automatically enforce https connection to your website.
That’s it for this article, for getting more knowledge about the WHM/cPanel and Web hosting, please refer our recommended blogs below.
If you Like Our Content here at Devopsage, then please support us by sharing this post.
Please Like and follow us at, LinkedIn, Facebook, Twitter, and GitHub
Also, Please comment on the post with your views and let us know if any changes need to be done.
Thanks!
How to Install WordPress on Top of LAMP Stack on Ubuntu and Redhat/CentOS7 Server.
How to Install and Setup WHM and cPanel On CentOS7 – Part 1
Basic WHM Configuration and Hosting a Website in cPanel Account – Part 2
How to Create Email and FTP Account in cPanel – Part3
How to Redirect Primary Domain to a Specific Folder in cPanel.
Issue – cPanel Email Going to Spam.
Unable to Login cPanel FTP with Failed to Retrieve Directory Listing Error
How to Migrate WordPress Website to cPanel – Part 4
How to Migrate Email Accounts from One cPanel to Another – Part 5
Redirect HTTP to HTTPS for your Website on cPanel – Part 7
How to Upgrade and Downgrade MariaDB Version in WHM/cPanel – Part 8
cPanel – phpMyAdmin asking for Username and Password. Error – Access Denied.


