In last post we have discussed how to convert your Windows 10 machine as Hyper-V Host. After configuring the Hyper-V host, the first thing we need to do is to create a VM. Follow the below steps to create a new VM in your Hyper-V host.
Right click on your connected Hyper-V host and select New -> Virtual Machine. The same you can do by clicking New button at right pane.

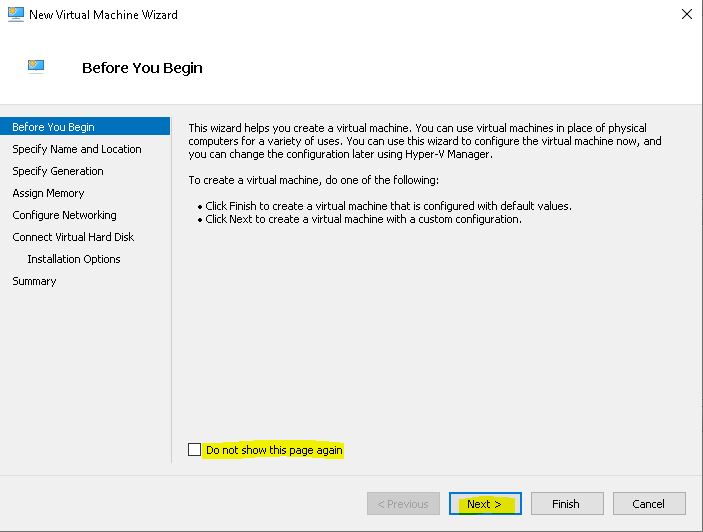
You can ignore the next intro screen and click on Next. If you don’t want to see that screen again, click on “Do not show this page again” checkbox.
Give a proper name to your VM which can identify it’s purpose. Like here I am installing my first Domain Controller, hence I have given the name as DC-01. By default it will take the by default VM location which you have set during Hyper-V setup. You can change it if you want.

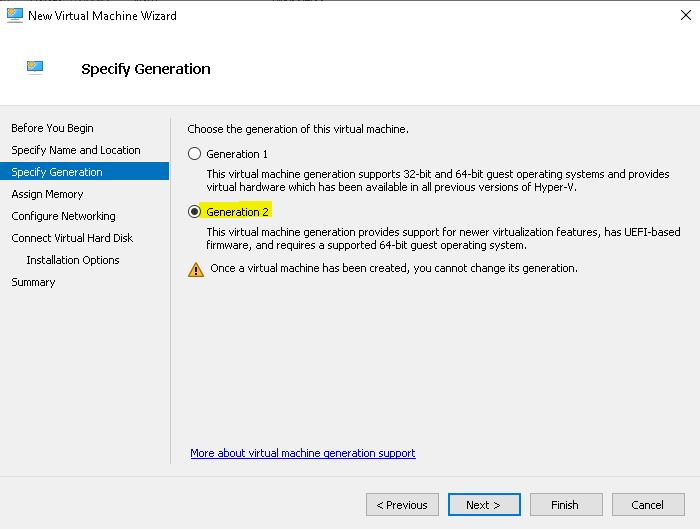
In next step, you need to choose the Generation. If you are using Windows 2008 or earlier, which comes in both 32 bit and 64 bit OS or you want to make your VM compatible with older version of Hyper-V, you can choose Generation 1. If you are using Windows 2008 R2 or later version, which comes only in 64 bit and want to use latest feature of Hyper-V, choose Generation 2.
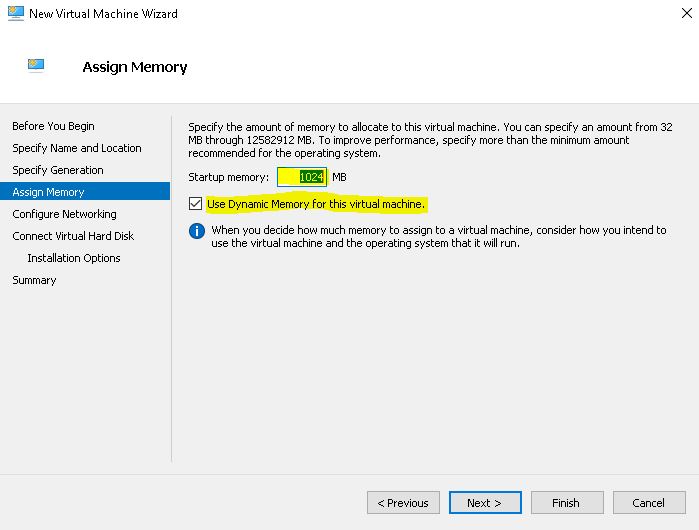
In next screen, you have mention the RAM for the VM. You can choose 1, 2, 4 GB or more as per your requirement. If you want Hyper-V to dynamically manage your RAM, select “Use Dynamic Memory for this virtual machine” checkbox. If you select this, the hypervisor will automatically increase or decrease the RAM capacity as per your VM usage (till maximum RAM assigned). If you want the dedicate RAM to the VM, don’t select this option. In production environment, Dynamic Memory management is not recommended.
Next step is to choose your network adapter. Here I am choosing the by default adapter which has created during Hyper-V configuration. If you want, you can create a new NIC as per your requirement.

Now you have to configure the Disk for the VM. The default name will be VMName.vhdx, better keep it as default. Like VM location, here also you get the default Disk location which you set during Hyper-V setup, you can change it if you want. Last thing you have to mention is the size of the Disk. Use appropriate size as per your VM usage. That will be the size of your hard disk in Windows.

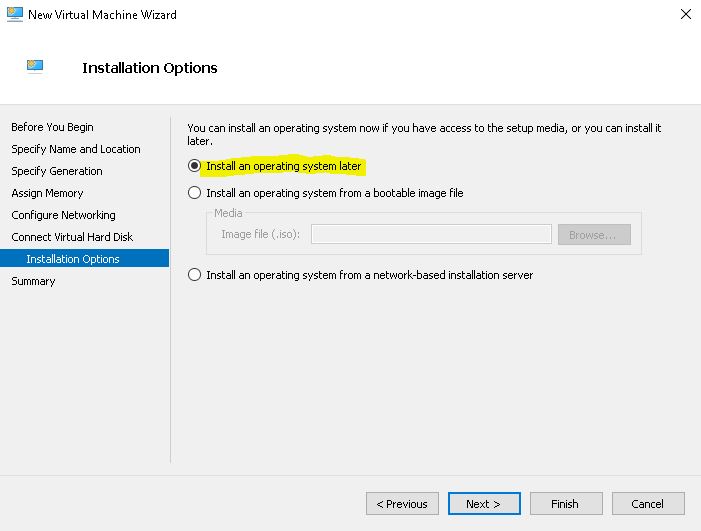
In next screen, you can choose the ISO file to install your VM. I will recommend to skip it for now, we can add it later.
In next screen, you can just verify your VM configuration and click on finish.

This is all for this post, in next article we will discuss how to verify your VM settings and add the DVD drive to your VM to install the OS.
cont…