In last post you got an idea about Type-1 and Type-2 Hypervisor. If you want to setup a small lab in your laptop or computer, you need Type-2 Hypervisor. I have been using VMware Workstation and Oracle VirtualBox since long time to setup my lab. However when you install these software, your system become bit slow. But what if I say now you can setup a Microsoft Hyper-V host in your Windows 10 machine? Wouldn’t that be great? The best thing about is this is that it will not eat-up the system resources. Let’s explore this:
The first thing you have to do is to enable your laptop to support virtual technology. If you are using latest (or less than 3 years old) laptop or desktop, it will be available by default. However if your laptop is quite old, you have to check the hardware manual before proceed. This setting is available in BIOS and you have to press “Del” or “F2” (depending upon your model) during boot to enter the BIOS. This setting will be in Configuration section of any laptop. Your settings tab or layout may be different from my laptop.
Search and enable Inter Virtual Technology of your system. Some laptop terms it as only Virtual Technology.

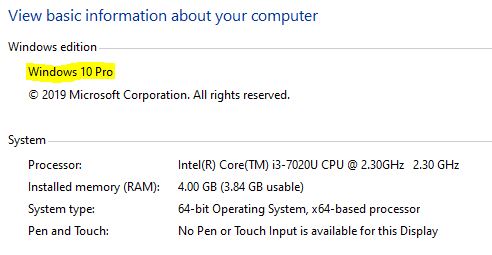
Once you enable this setting, boot your Operating System normally. Note that your OS should be Windows 10 Professional. Home edition will not support in-house virtualization.
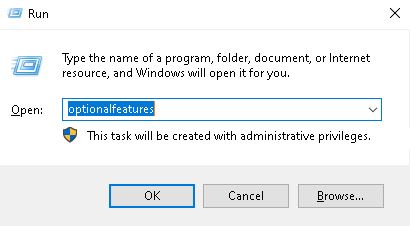
Open Run and enter “OptionalFeatures” and press Enter.
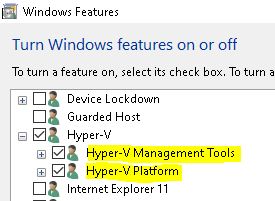
There you will find the Hyper-V option. Select it. Expand Hyper-V section and make sure both Hyper-V Management Tools and Hyper-V platform should be selected.
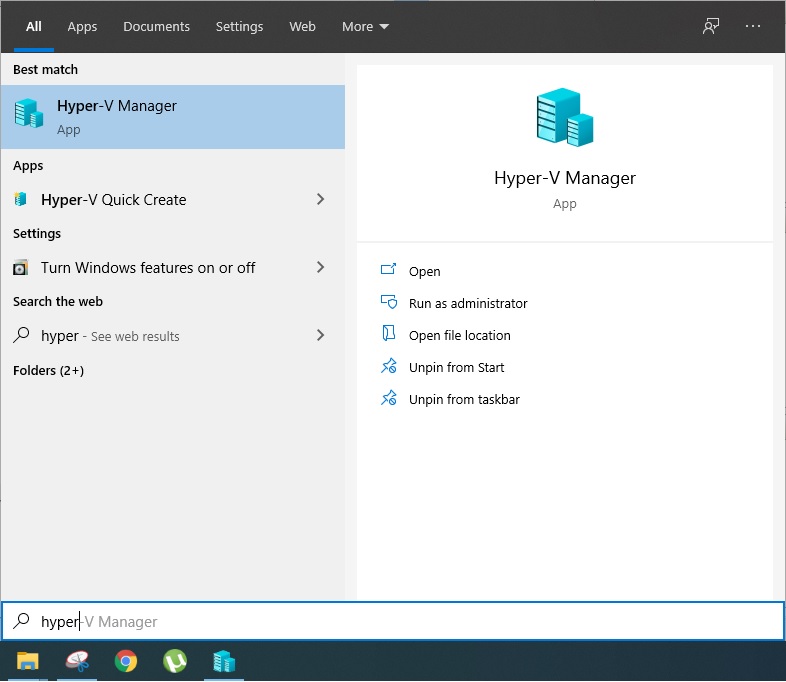
It will install Hyper-V feature in your computer and reboot your system. After reboot, click on Start and search Hyper-V. You will find a new application called Hyper-V Manager. Open it.
Now you will see the Hyper-V Manager console and by default your computer will be your first Hyper-V host.

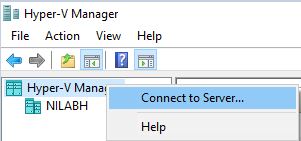
If you have any other Hyper-V host in your network, you can connect them here in your system, same like we do in our Type-1 Hypervisor. Just right click on Hyper-V Manager and click on Connect to Server.
It will give you an option to select another computer. You can give the host name of other Hyper-V host to connect there.

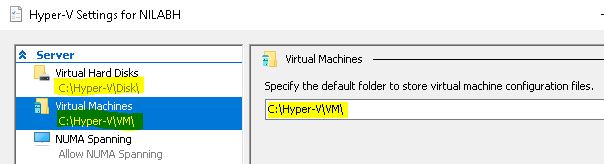
The last thing you have to do is to configure the location where you want to save your VMs. You can use the default path too, but I recommend to save all your VMs at one place so that you can manage them easily when required. To do that, click on Action and select Hyper-V Settings.

Now under Virtual Machine and Virtual Machine Disk, select your folder where you want to save your VMs. Make sure the folder should be same for VM and Disk so that you don’t need to to different folders to manage them.
This is all for this post. In next post, we will discuss to setup our first Virtual Machine on the Hyper-V. Be connected.