In last post you got an idea about creating a blank VM template in Hyper-V. In this post, we will see how to mount the ISO image in the newly created VM and few other necessary steps.
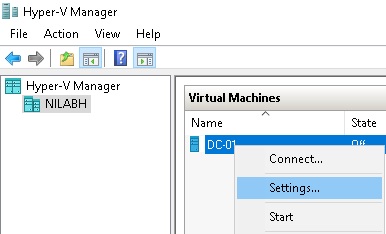
After you create a VM as per previous post you can see a newly created VM in Hyper-V Manager. Right click on that VM and go to Settings.
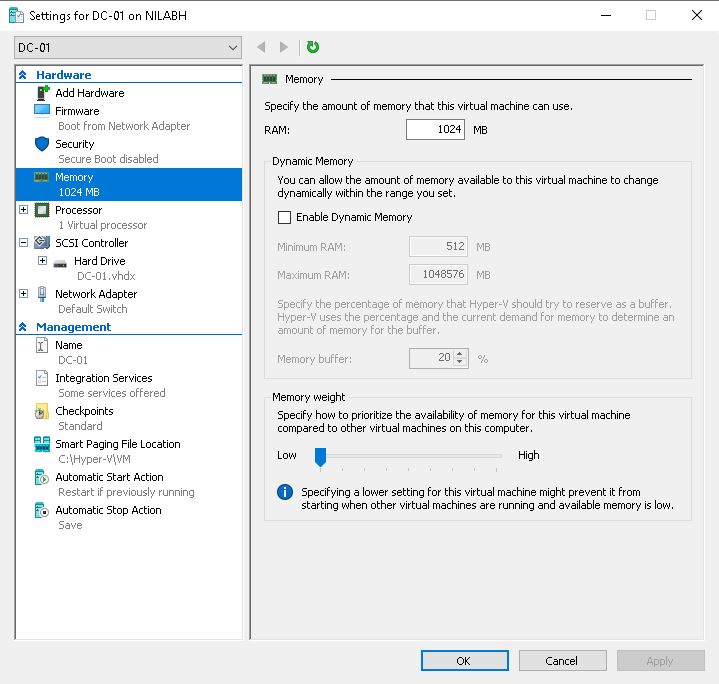
In the settings, you can see and modify the hardware configuration of the VM. Like here you can see that 1 GB RAM is currently assigned to the VM but you can change it to any other value. Similarly you can change the value of Processor, Hard Disk, NIC etc.
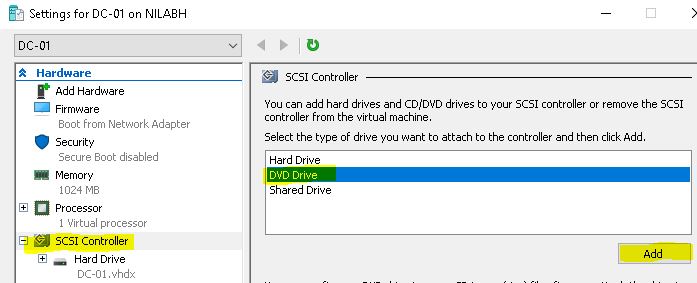
Now we have to mount the ISO file through which we will be installing the OS. But before that, we need to add DVD drive. To do that, click on SCSI Controller, select DVD Drive and click on Add.
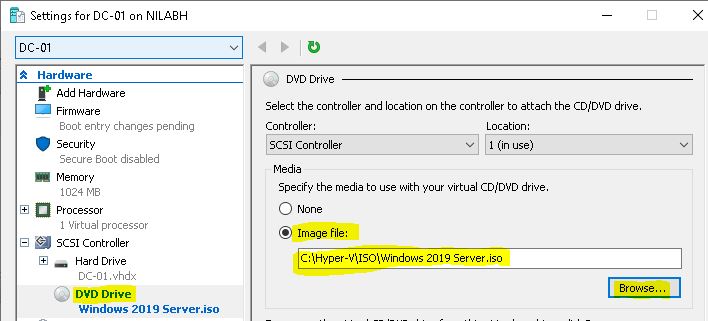
After adding the DVD drive, go there and select Media as “Image File”. Then Browse the path where you kept the ISO file and select appropriate ISO image. In my example, I am selecting Windows Server 2019 ISO file from “C:\Hyper-V\ISO” folder. After mounting the ISO, you can click on OK to close the settings window.
Once your ISO file is mounted, now you are ready to install the OS. To do that, right click on the VM in Hyper-V Manager and click on Start.
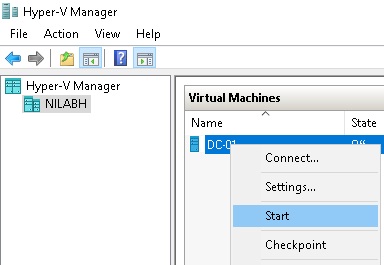
It will power-on your VM. Once the state of the VM is set to Started, you can again right click on the VM and click on Connect to see what’s happening in the VM. In this screen, you can also see few other information about the VM such as CPU Usage, Assigned Memory and Uptime of the VM.

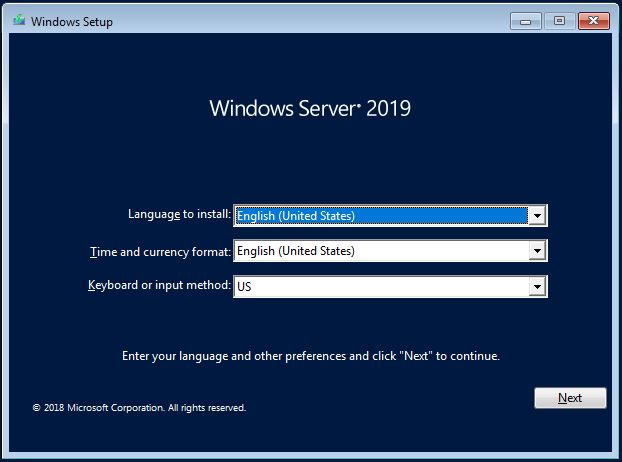
Once you connect the VM, you can see what’s happening in the VM. Since it’s a new virtual machine, booting from the DVD to install the OS (the ISO file which we have added earlier), you can see that Windows Server 2019 installation has started.
This is all for this post. In next post, we will see the step by step process to install Windows Server 2019.