Windows Server 2016 is major edition from Microsoft on which most of the companies are moving. However the latest edition of OS is Server 2019, but 2016 adoption is still in progress. We have already published the article on Windows Server 2019 installation. Let’s see the installation steps of Windows Server 2016:
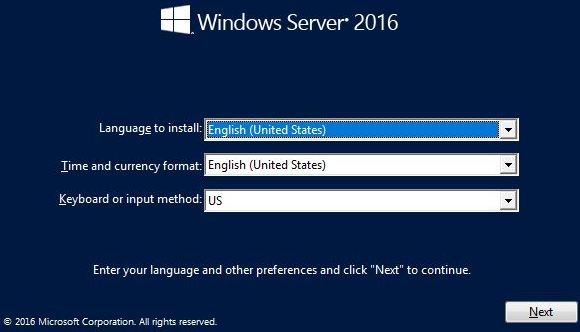
Once you boot the system from 2016 ISO, it will prompt you to select the language.
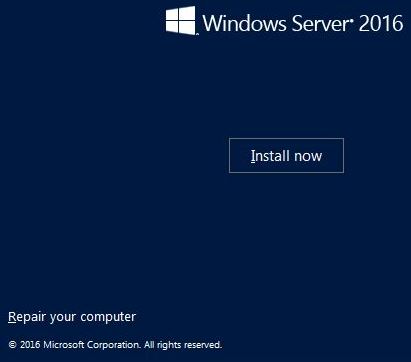
In next screen, click on “Install Now”.
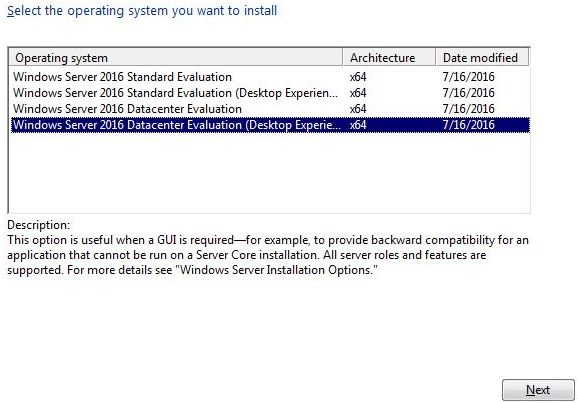
Choose the OS version. Here I am choosing Datacenter version with GUI.
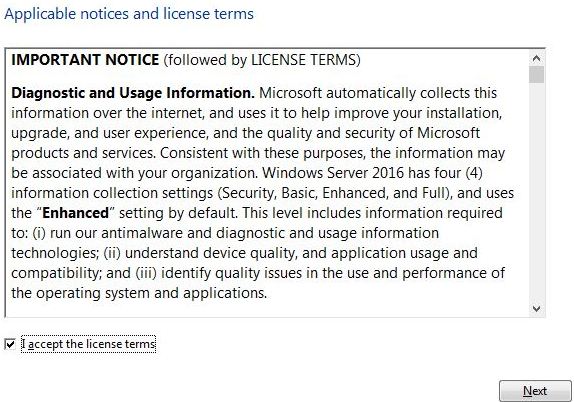
Accept the Microsoft terms & conditions. Do we have any other option? 🙂
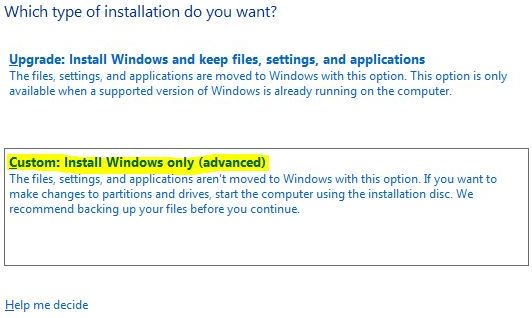
Here I am not upgrading any OS but installing a fresh OS. So I will proceed with Custom Installation.
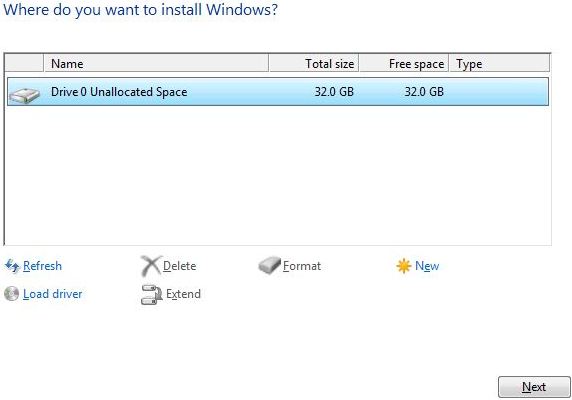
Next screen will give you an option to make partitions on your hard disk. Since I want to use all of my disk as C: drive, I will simply click on Next. If you want to create a partition, you can click on New and give the partition size.
It will now start the installation. You may need to wait for 5-10 mins, depending upon your hardware configuration.
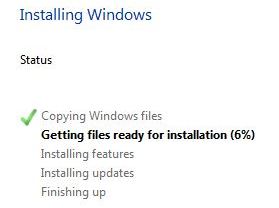
Once installation is completed, it will automatically reboot your server.

After reboot, it will ask you to set the password for default “Administrator” account.
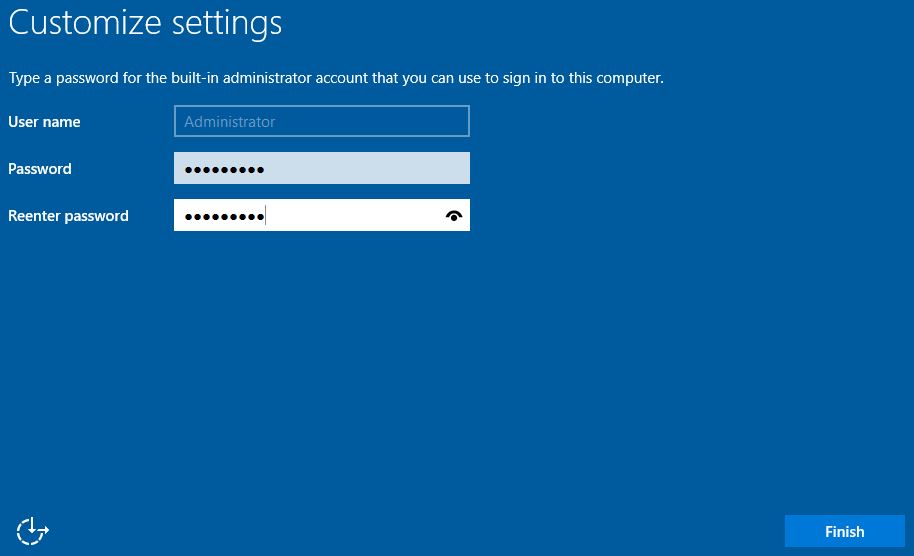
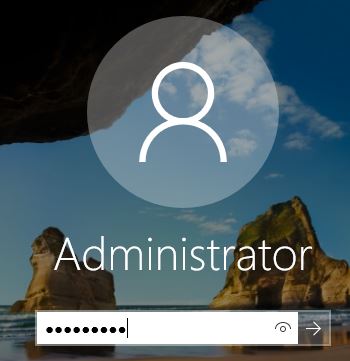
That’s it! Now you can login to your newly installed Windows Server 2016.
Don’t forget to check out the necessary steps to be done after installing any operating system.