In last post, we have understood the basic concept of Read Only Domain Controller and why we actually use it. In this post, I will take you to the steps to install and configure RODC. In this article, first few steps will be exact the same which we have already discussed in Active Directory Installation and Configuration post, so you can also refer it for more detailed information. So, let’s begin:
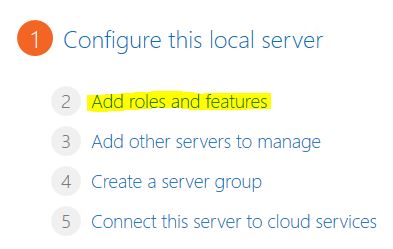
Open “Server Manager” and Click on “Add roles and features”.
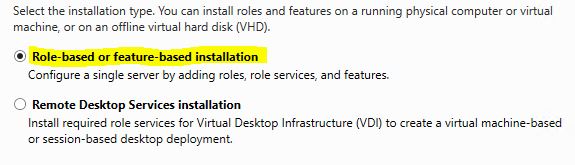
Select “Role-based or feature-based installation”.
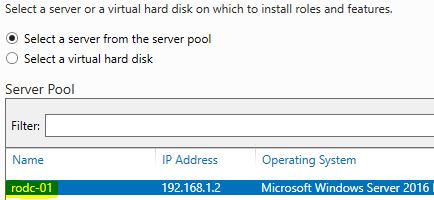
Since I am installing the role on the local server, I will choose RODC-01.
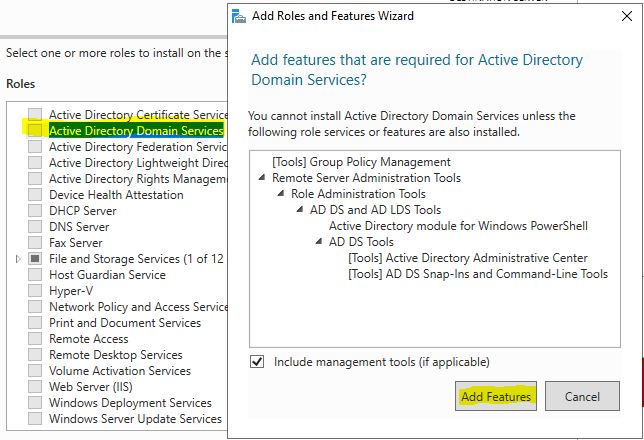
Select the “Active Directory Domain Services” role. It will automatically select the required features for this role. Keep it default and click on “Add Features”.
Since it’s already selected required features, you don’t need to select any additional feature in next screen. Keep it default and click on Next.

Next screen will give you some KB for Active Directory. You can skip it and click on Next.

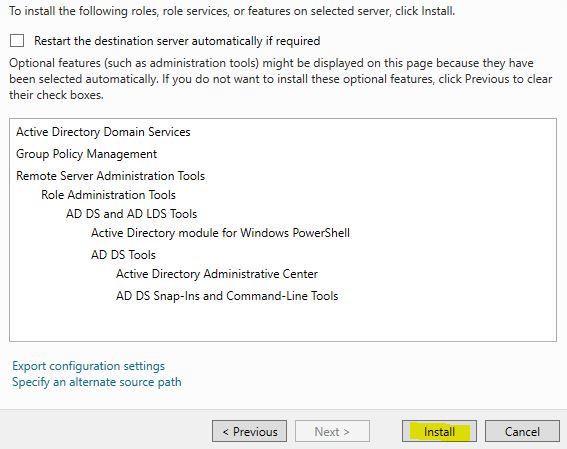
Review the settings and click on “Install”.
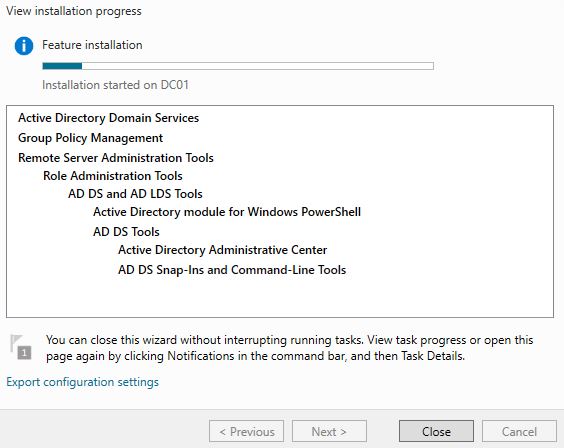
It will start the Active Directory installation. If you want, you can close the screen. The installation process will hardly take 2 mins.
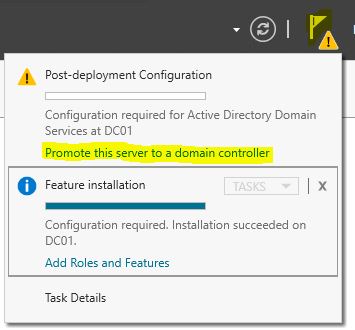
Once you install the Active Directory, you will see the notification at top right side in Server Manager. Click on that and then click on “Promote this server to a domain controller”.
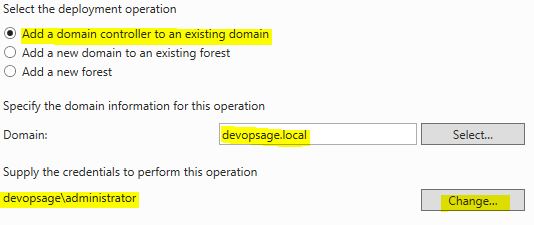
Since I have already created a domain “devopsage.local”, I will add a new domain controller in the existing domain. Click on “Add a domain controller to an existing domain”. Give the domain name and provide the credentials which you will be using to add a new DC by clicking on change. I am using my “Administrator” account to execute this process.
Note: Make sure at-least one of the DC in your existing domain should be up and running and reachable from the server you are trying to promote.
In next screen, select the “Read only domain controller (RODC)” option. Set the DSRM password and go next.

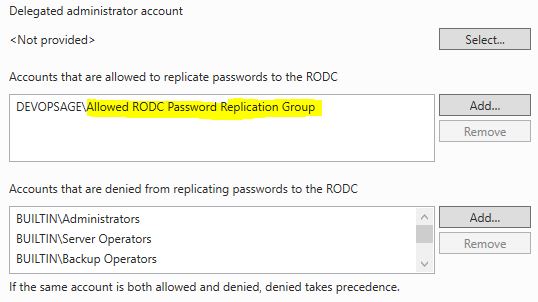
Next screen will give you the “RODC Options”. We will post another article discussing the various options we have in this screen. As you know, RODC is a special DC with limited abilities and these options decides how it will work. For now, just keep it default and go ahead. We can change these options any time later.
Since it’s another domain controller in the domain, it will now give you option to replicate itself. You can either choose “Any domain controller” or selected your preferred DC.

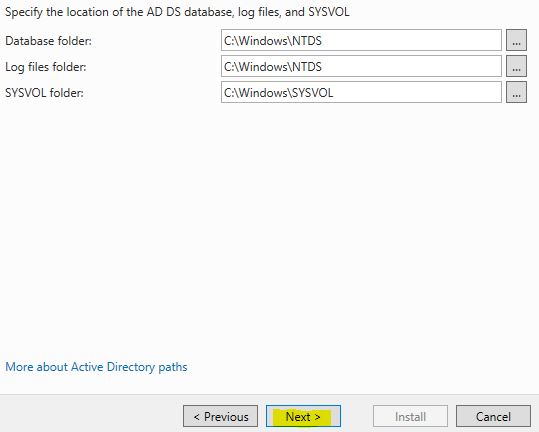
Next screen will let you to select the location of Active Directory database and SYSVOL folder. It’s recommended to keep it default.
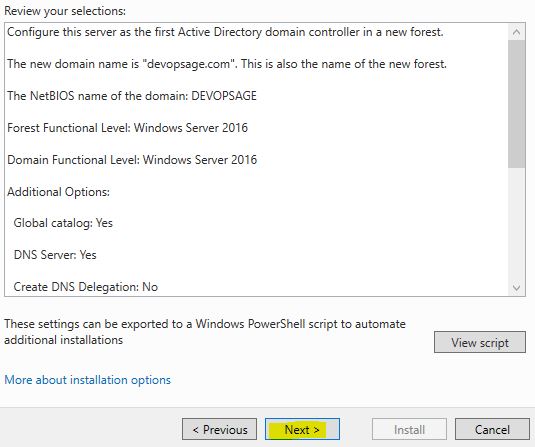
Review the configuration and go “Next”.
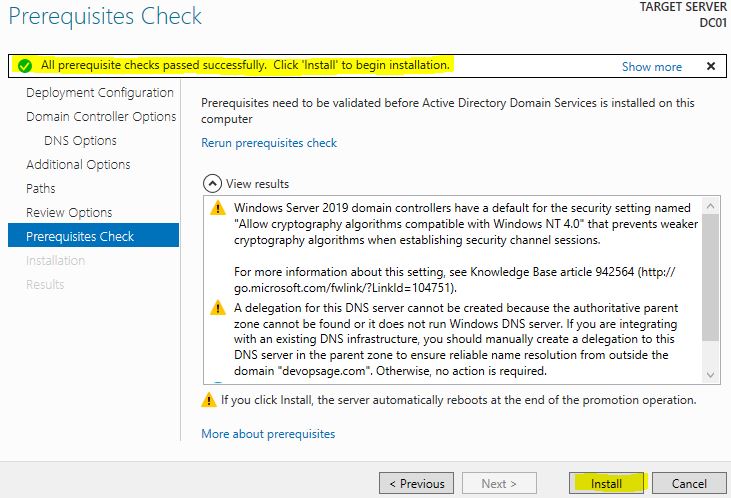
In next screen it will check all the prerequisites to install AD. You can safely ignore the Warnings and proceed with the installation.
That’s it! Once it’s done, your server will reboot and you will get a RODC in your environment. In next post, we will discuss the final things which is required in RODC like Password Replication and Credential Caching. That will help you understand the RODC concept in more gradual level. Hope this article will help you.