In last post, we have seen the installation of your first Domain Controller. Till Windows Server 2008 R2, we had a utility called “dcpromo” which installs and configure the Active Directory in one shot. After Windows Server 2012, AD can be installed through “Server Manager” only. Also it’s devided into two parts – installation and configuration. In last post, we have already seen the installation, now in this post, let’s see the configuration of Active Directory.
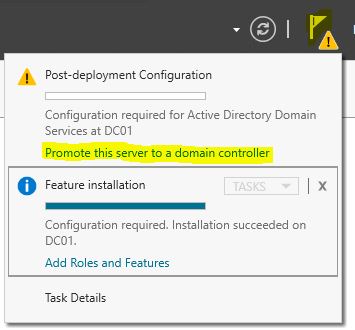
Once you install the Active Directory, you will see the notification at top right side in Server Manager. Click on that and then click on “Promote this server to a domain controller”.
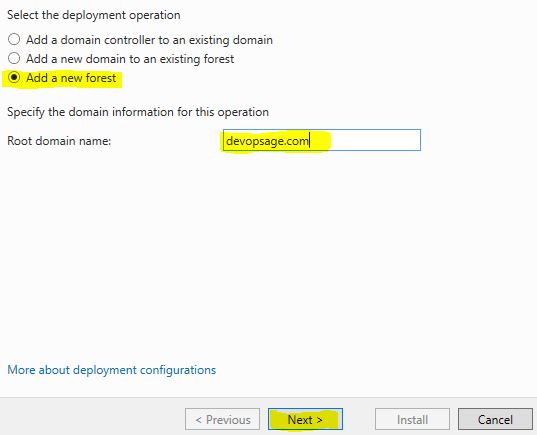
Now you will see three options to add new domain, new domain controller and new forest. Since this is my first domain controller, that’s why I have to create the first forest. Here you can give any domain name, means you don’t need to choose the standard domains such as .com, .in, .org etc. You can actually select anything.
In next screen, you have to select few things. First thing you have to decide the “Forest Funciton Level” and “Domain Functional Level”. These two topics are huge and can’t be cover here. Just to understand you select the forest and domain functional level same as the minimum versoin which you are going to use. I am going to use all domain controllers of at-least Windows Server 2016, that’s why I have selected the same.
By default, the first domain controller will be the Global Catalog, so you can’t change it (we will discuss Global Catalog later). Set the “DSRM password”, which will be used anythime you want to recover the Active Directory. Make sure you remember this password.

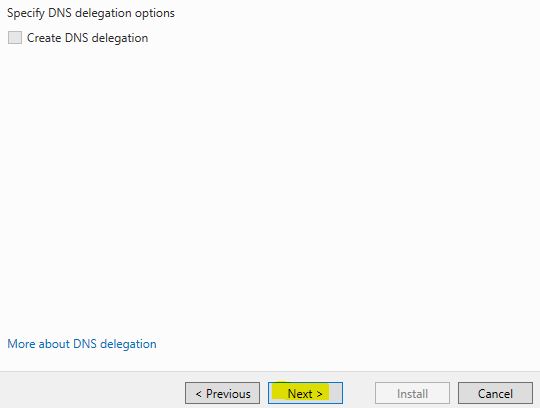
Keep the next screen as default and go forward.
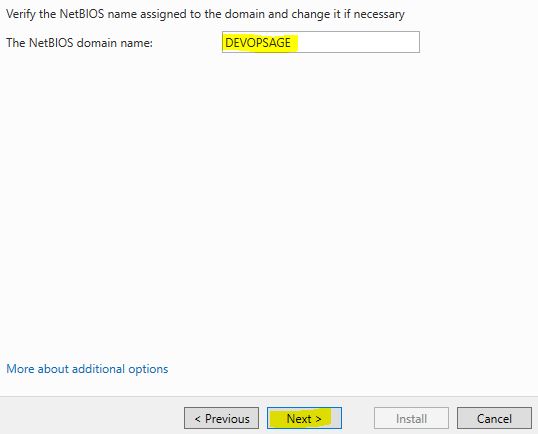
In next screen you have to select the “NetBIOS” name, which gives you the backword compatibility with older version of Windows. Always recommend to keep it default.
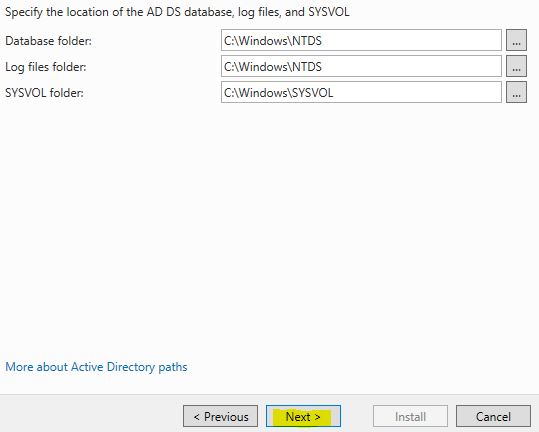
Next screen will let you to select the location of Active Directory database and SYSVOL folder. It’s recommended to keep it default.
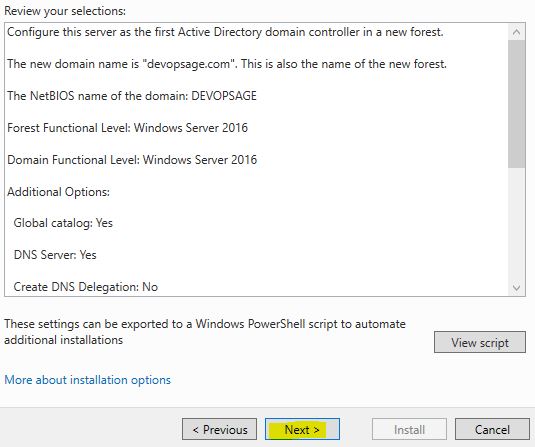
Review the configuration and go Next.
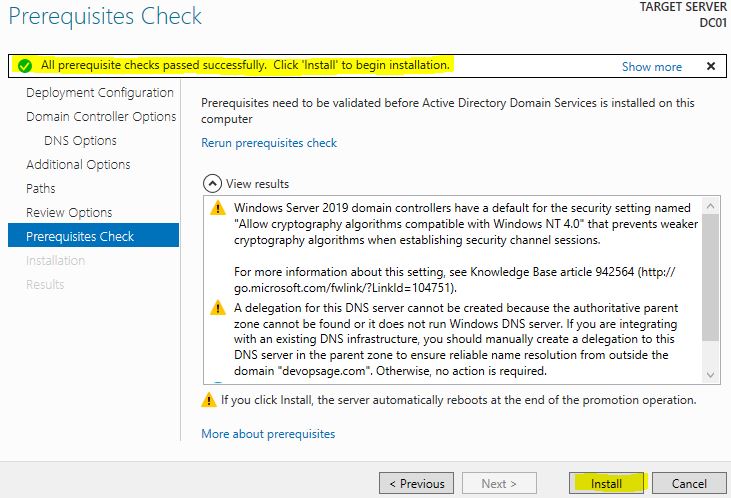
In next screen it will check all the prerequision to install AD. You can ignore the Warnings and proceed with the installation.
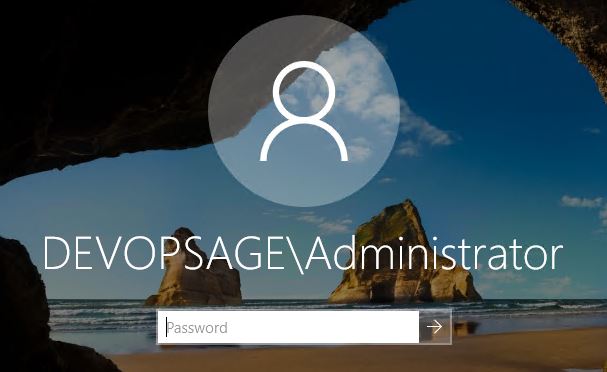
Once it’s install, it will reboot and then you will find the domain login screen. By default the Administrator password will be blank, however it’s highly recomended to set a strong password for builtin Administrator account.
Now your first Domain Controller is ready. To verify, open the powershell and run two commands:
- netdom query dc: It will give you the list of domain controller
- net share: It will give you the share folder. Make sure you see the two folder shared – Netlogon and Sysvol.

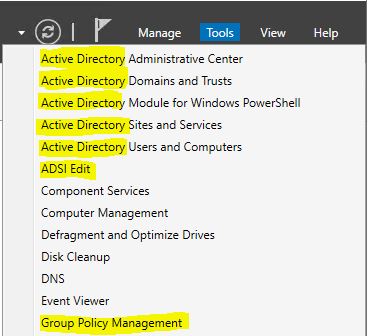
Another way to check the proper installation is to open Server Manager and click on Tools. There you will find all Active Directory related tools.
That’s all! Your Active Directory infrastructre is ready and you can now use the full capabilities of an AD.