In last post, you got some basic idea about Active Directory. As I told, Active Directory is huge and no one can limit it in few posts. There will be lot many other topics will come for AD, but for now, we will see how to install and configure the Active Directory. This post will be divided into two parts:
- Active Directory Installation
- Active Directory Configuration
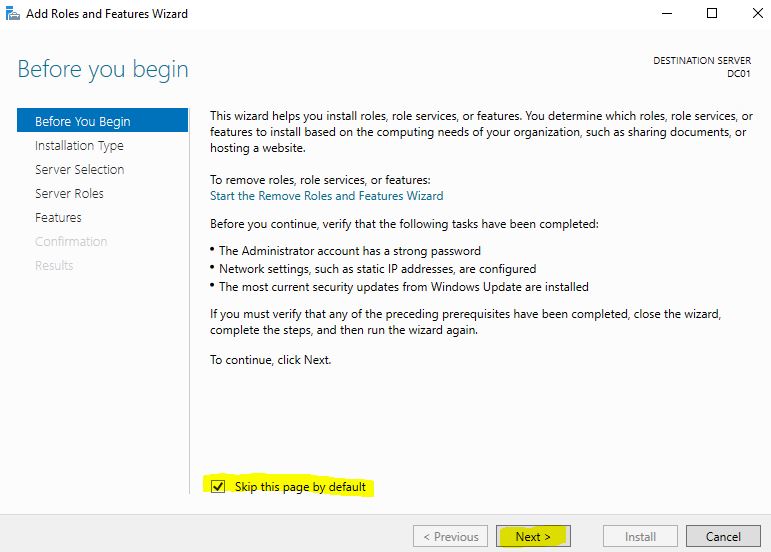
You can install AD role in Windows Server 2000 and above. Here we will be using Windows Server 2019 to install and configure AD role. Unlike Windows Server 2000, 2003 or 2008, we can’t install AD role by “dcpromo” command in Windows 2012 or above. We have to do it through “Server Manager”. Open Server Manager. It will land on the welcome screen. If you don’t want to see it again & again, select “Skip this page by default”.
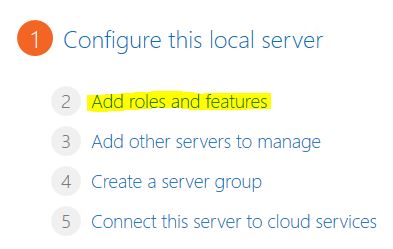
Click on “Add roles and features”.
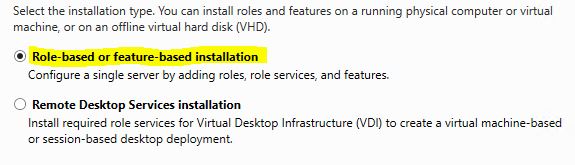
Select “Role-based or feature-based installation”. The other option is valid only if you have VDI environment.
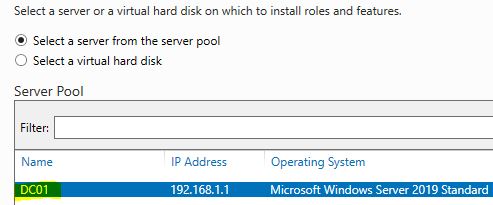
Since I am installing the role on the local server, I will choose DC-01. In case you want to do remote installation to any other server, you can choose it too.
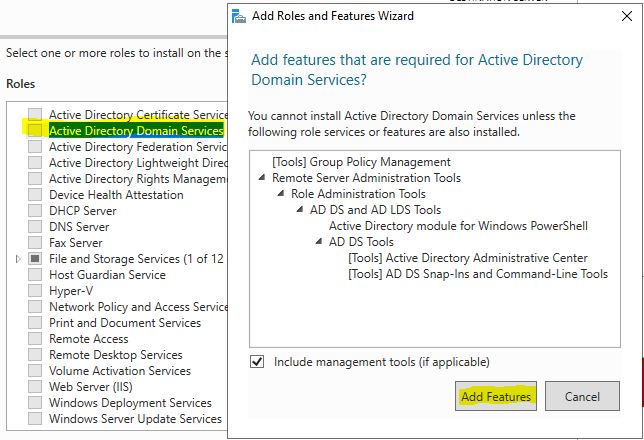
Select the “Active Directory Domain Services” role. It will automatically select the required features for this role. Keep it default and click on “Add Features”.
Since it’s already selected required features, you don’t need to select any additional feature in next screen. Keep it default and click on Next.

Next screen will give you some KB for Active Directory. You can skip it and click on Next.

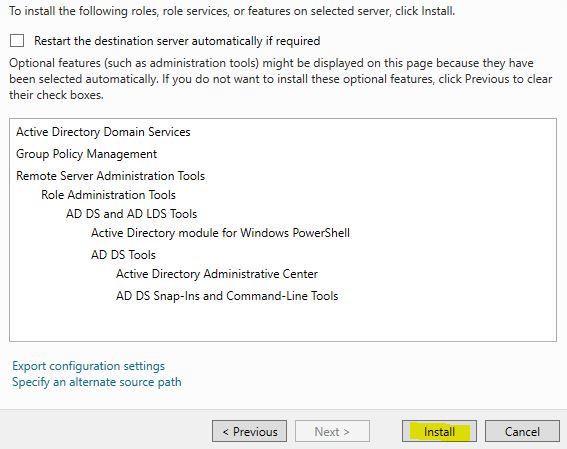
Review the settings and click on “Install”.
It will start the Active Directory installation. If you want, you can close the screen. The installation process will hardly take 2 mins.
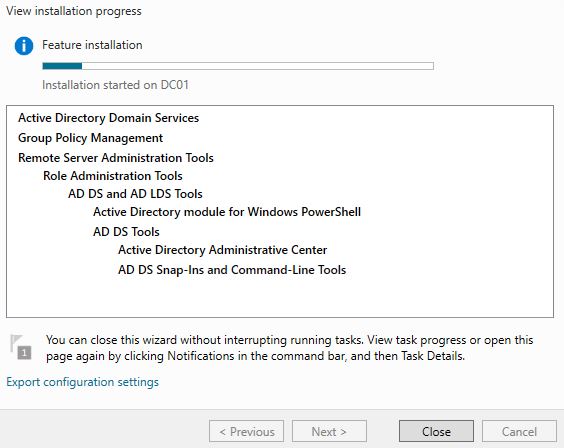
Once installation is done, we will proceed to configure this. Will see the Active Directory configuration in next post.
cont…