Windows Server 2019 is the latest server operating system from Microsoft with bunch of new features. In a way, Microsoft is in bit hurry because most of the organizations are still getting familiar with Windows 2012. Three years back Microsoft came with Windows Server 2016 and within two years with Windows Server 2019. In this post, I will take you step by step to install the latest Operating system. Windows 2019 ISO can be downloaded from here for 180 days evaluation.
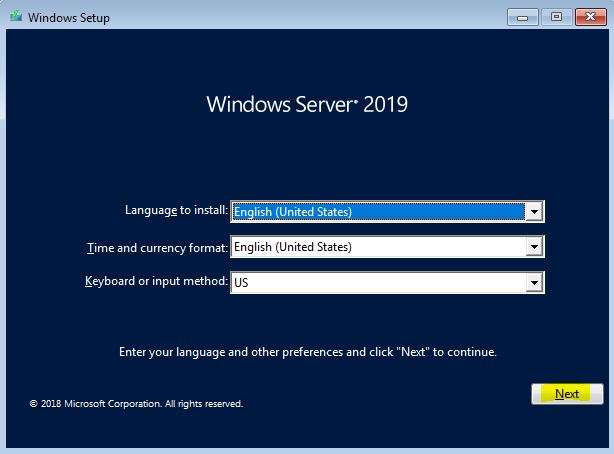
In last post, you have seen how we can create our first VM on Hyper-V host. If not, I request you to check this post first and then come back here. We will start from the first screen of Windows Server 2019 setup when you boot from the DVD or ISO image. Select your Language information and and click on Next.
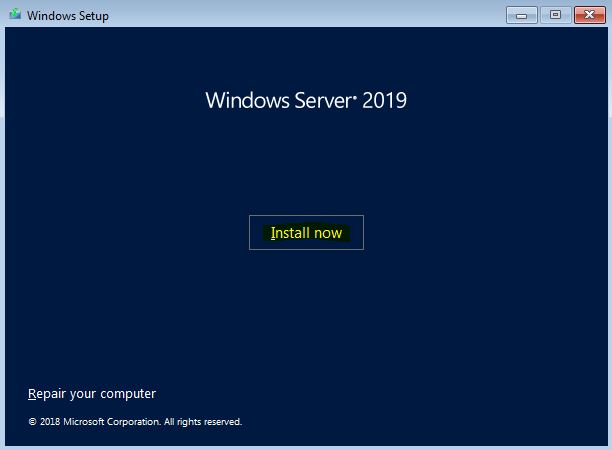
In next screen you will find an option to Install the OS. Click on Install.
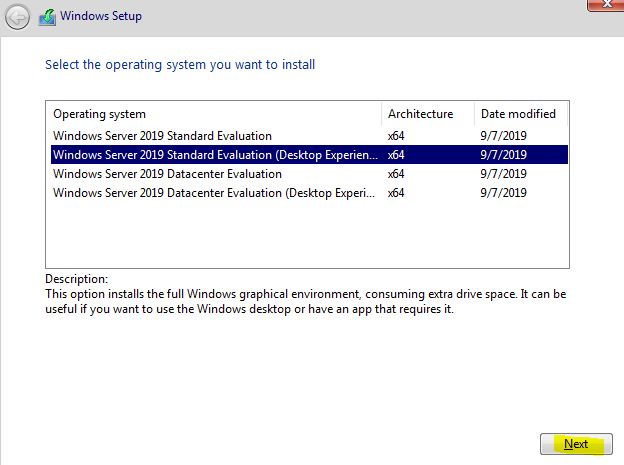
In next screen you have to choose the correct OS edition. Here I have chosen Standard Edition (Desktop Experience), which will give me GUI capability. If you select OS version without Desktop Experience, it will install the OS with Core Feature only without GUI.
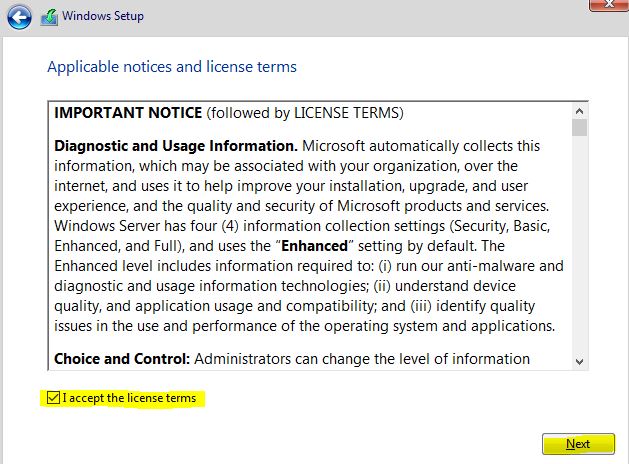
Next screen will give you EULA, which anyhow you have to Agree. 🙂
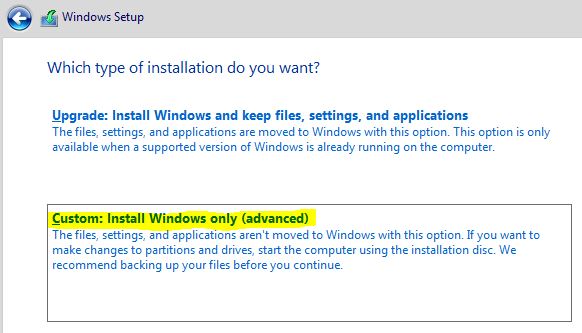
Next screen will give you two options:
- Upgrade: Choose this option if you want to upgrade your Windows operating system from Windows 2012 or 2016.
- Custom: For install new OS from scratch. We will go with that as no OS is there to upgrade.
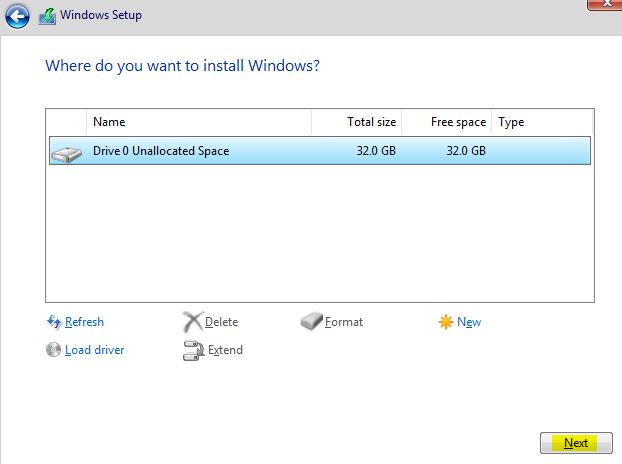
Next screen will give you Disk Management option. Here you can see the number and size of your Hard Disk. Since I have only added one HDD to this VM, I am getting only 1 disk. If you want to make a partition on that disk, you can click on New and make a different partition. If you want to use the full size a single partition, simply click on Next. It will automatically format the Disk and proceed.
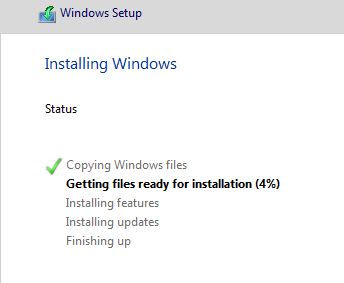
Once partition is created and formatted, the installation will start. You may have to wait here for few mins to complete.
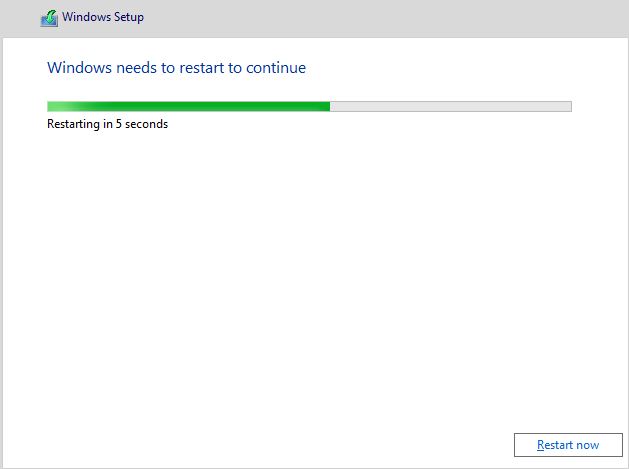
Once installation is done, your system will be Reboot.
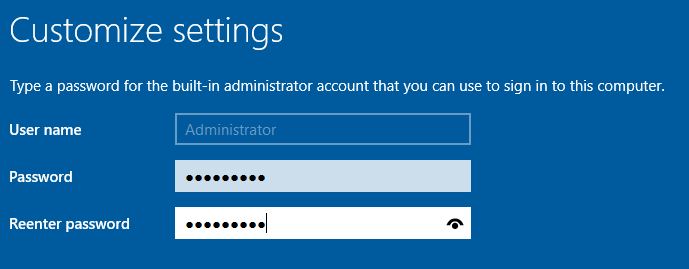
After reboot, the OS will start for the first time, you have to set the password for your default “Administrator” account. You can create other local accounts later if you want.
Bingo! Your Windows Server 2019 is ready to use.
