With this post, we are finally close our FSMO Roles series. In this post we will see the step by step process to transfer and seize the FSMO role. But before I proceed, I request you to check our previous posts, in case you have any doubt about FSMO roles concept.
So the first step is to check which domain controllers are currently holding which FSMO roles. To see that, run the following command:
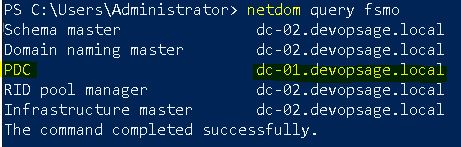
netdom query fsmo

You can see that currently all roles are on DC-01.DevOpsAge.local. I want to transfer the role to different domain controller – DC-02.DevOpsAge.local. To do that, we have an inbuilt tool called ntdsutil. Let’s start.
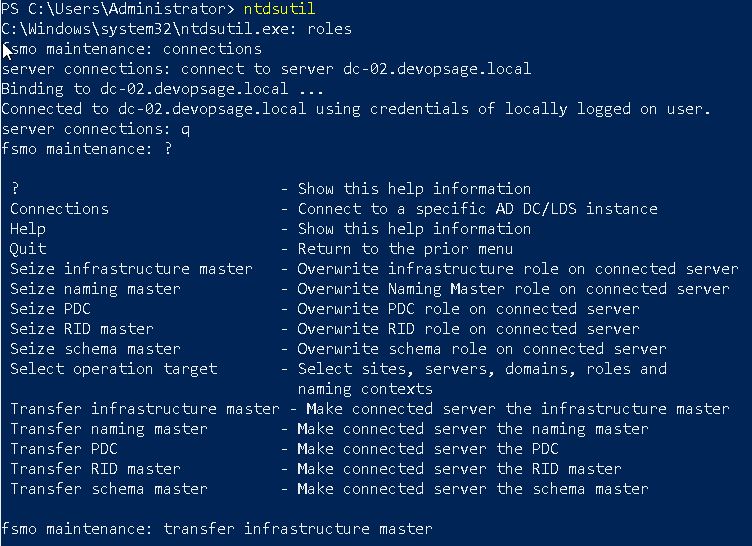
Run ntdsutil
Now type roles
Next type connections
Now run connect to server <server name>, where the server name is the domain controller where you want to transfer the role. In my case, server (DC) name is DC-02 so my command will be:
connect to server dc-02.devopsage.local
You will see the successful connection message. Now go to the roles prompt by typing q. At any point of time you can type ? to see all available options at that prompt. For example at roles, you can see all transfer and seize commands which can be executed.
So I will start with transferring IM. To do that, run:
transfer infrastructure master
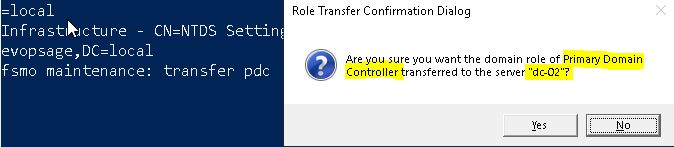
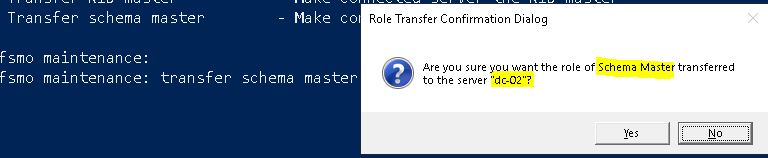
It will ask for the confirmation. Verify the correct role and destination server and click on Yes.

Now it will give the confirmation about role transfer.

Now if you again check the FSMO roles holder, you will see that Infrastructure Master role is not transferred to DC-02.

Now similar way I will transfer Domain Naming Master, PDC, RID Master and Schema Master by running following commands:
transfer naming master
transfer pdc
transfer rid master
transfer schema master


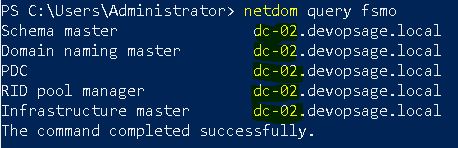
Now if check the current FSMO roles holders again, we will see that all of the roles are transferred to DC-02.DevOpsAge.local.
If you want to do the same with GUI, you can see and transfer all domain level roles (PDC, RID and IM) from Active Directory Users and Computers. Open dsa.msc and right click on domain name and click on Operation Masters.

There you can see the current role holders for all three roles (in top three tabs) and also select the destination DC and click on transfer to transfer specific role.

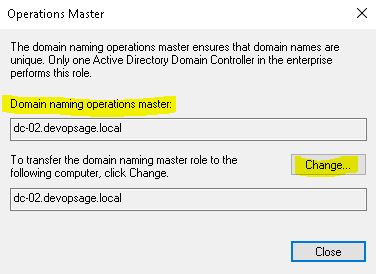
To see and transfer the Domain Naming Master role, open Active Directory Domain and Trust, right click on the top (not on domain name) and click on Operations Master.
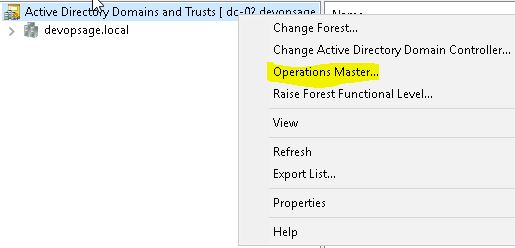
There you can see and transfer the Domain Naming Master role same way.
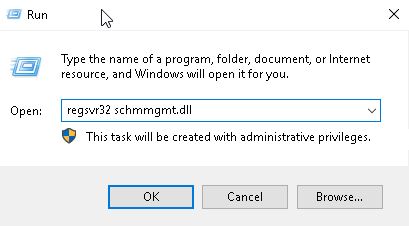
To see Schema Master role in GUI is little tricky. To see the SM role, first you have to register the DLL file for Schema. To do that, open run and type:
regsvr32 schmmgmt.dll
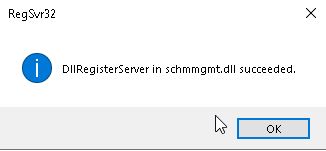
After clicking OK, it will give you the confirmation.
Now open Microsoft Management Console buy running mmc in run and then click on File -> Add/Remove Snap-in.
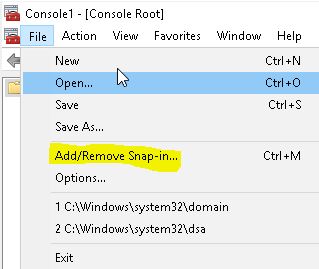
There you will find Active Directory Schema snap in, add it.

Right click on Active Directory Schema and click on Operations Master.
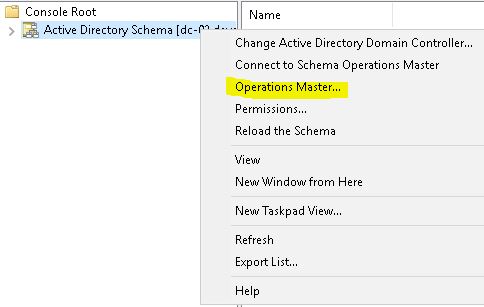
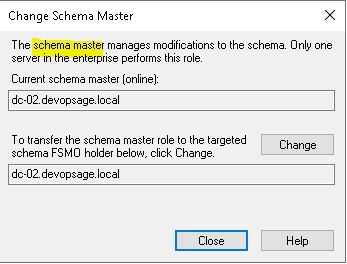
From there you can see and transfer the Schema Master role.
Seize FSMO Roles
This is bit tricky because we seize the role when the source DC is not at all available. As you can see, I have shut down the current FSMO roles holder machine – dc-02.devopsage.local.

Now if I follow the same process which I just used to transfer the role, it will give error as it can’t connect the current FSMO roles holder (DC-02).
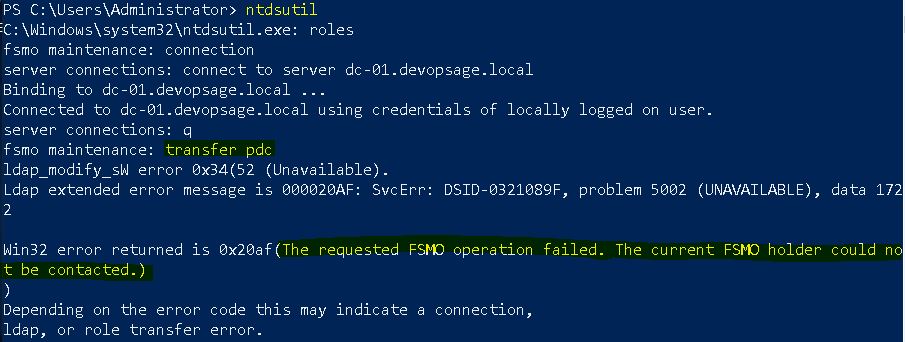
So here we will use “connect to domain” instead of “connect to server”.
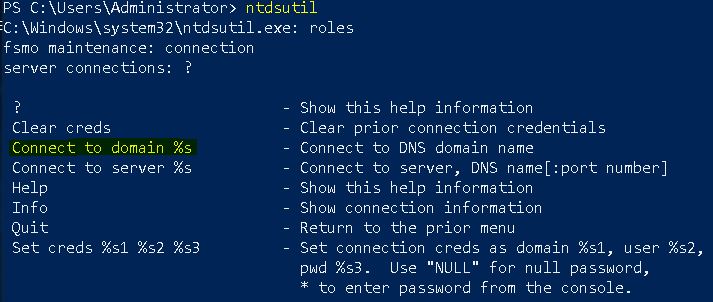
My domain name is DevOpsAge.local so run the command –
connect to domain devopsage.local

You will see now it’s connected. Now proceed with seizing any role, here I am seizing PDC.
seize pdc
It will ask for the confirmation. Verify the details and click on Yes.

As you confirm, it will first try to transfer the role, but since dc-02 is down, it will then proceed with role seizure.

Now if you check the FSMO roles holder, you will see the PDC role is seized to DC-01.
That’s it for this series. I hope you have enjoyed this journey and I hope FSMO roles concepts are now clear for you. In case you have any other questions, please mail or comment. Cheers!
Thank you so much for the contribution.. it helps me to refresh my AD knowledge
Thanks you like it.