I am sure you are well aware of ACL (Access Control List). The access on any file or folder is controlled by ACL. Means, if we want that specific user can only access, or having specific level of access on any folder or file, that can be controlled by ACL. The same in Windows Server/Workstation is called as NTFS Permission. Let’s start with basics.
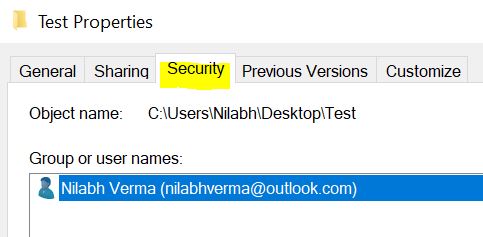
To see the current permission, just right click on any file/folder and go to the Security tab. There you can see who all have permission and what level of permission on that object.
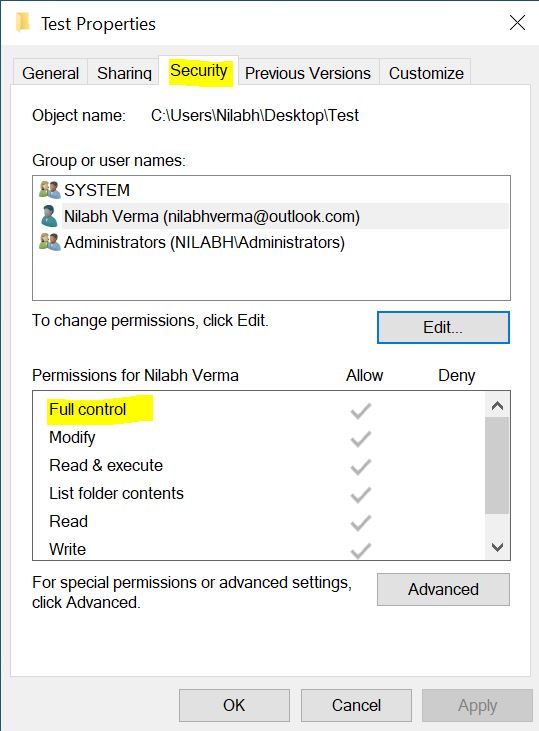
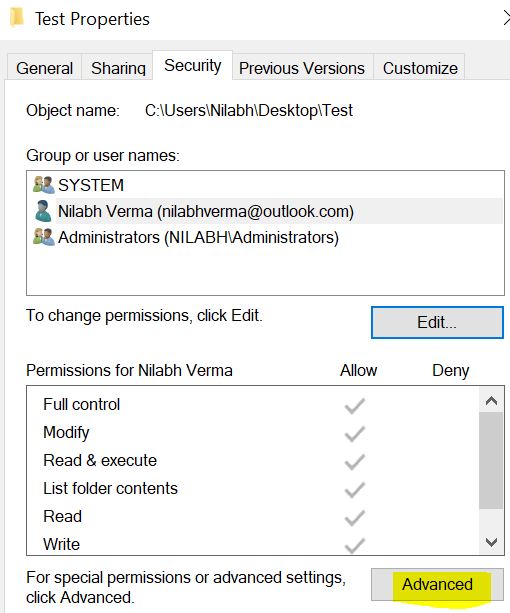
Above, you can see that System, Nilabh and Administrators have access to that folder. When you click on any user, you will see the level of access he has. Like Nilabh has Full Control over that folder.
Let’s understand the basic level of NTFS permissions. There are mainly 6 level of access:
| Permission | Full Control | Modify | Read & Execute | List Folder Content | Read | Write |
| Traverse Folder/Execute File | X | X | X | X | ||
| List Folder/Read Data | X | X | X | X | X | |
| Read Attributes | X | X | X | X | X | |
| Read Extended Attributes | X | X | X | X | X | |
| Create Files/Write Data | X | X | X | |||
| Create Folders/Append Data | X | X | X | |||
| Write Attributes | X | X | X | |||
| Write Extended Attributes | X | X | X | |||
| Delete Subfolders and Files | X | |||||
| Delete | X | X | ||||
| Read Permission | X | X | X | X | X | X |
| Change Permission | X | |||||
| Take Ownership | X | |||||
| Synchronize | X | X | X | X | X | X |
According to the above table, you can set access for a user, depending upon his requirements. Adding and removing Users/Groups from the ACL is very easy. To do that, click on Edit and then Click on Add or Remove to add/remove users/groups.
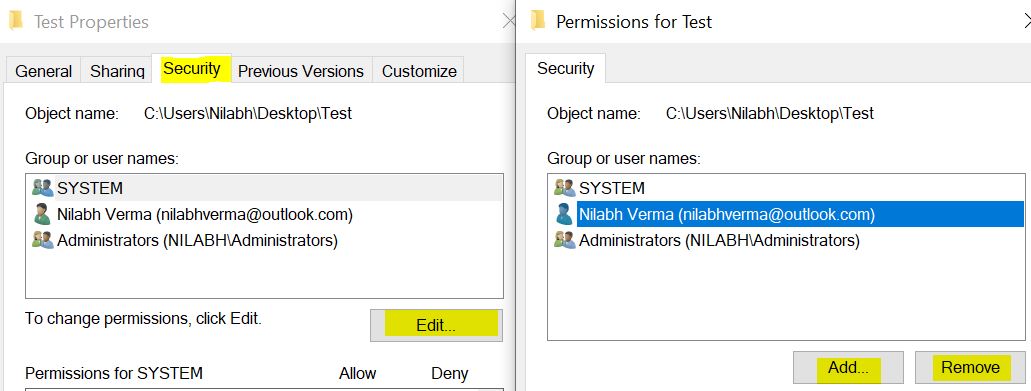
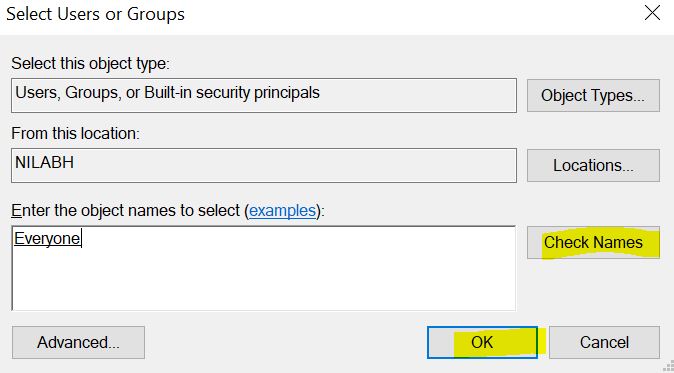
Suppose I want everyone to have read permission on that folder. To do that, click on Add and search the user named “everyone”, click on Check Names and once user found, click on OK.
Once user is added, by default it will have three access – Read & Execute, List Folder Content and Read. Remove other two and keep only Read access for everyone, which will allow all users in the domain to read the content of this folder. Similar way, you can remove Everyone by clicking on Remove.

Make sure you give permission under Allow, not Deny. Deny will restrict all access for Everyone (including users who already have access). Always remember that if any user has both Allow and Deny on a specific object, DENY will always take precedence. Means if you give User1 both Allow and Deny access, user1 can’t access that folder as Deny permission will always win.
Now this is just the basic information about the NTFS permission, but it has much more to offer. Let’s now try to remove user Nilabh Verma from the ACL like we removed Everyone.
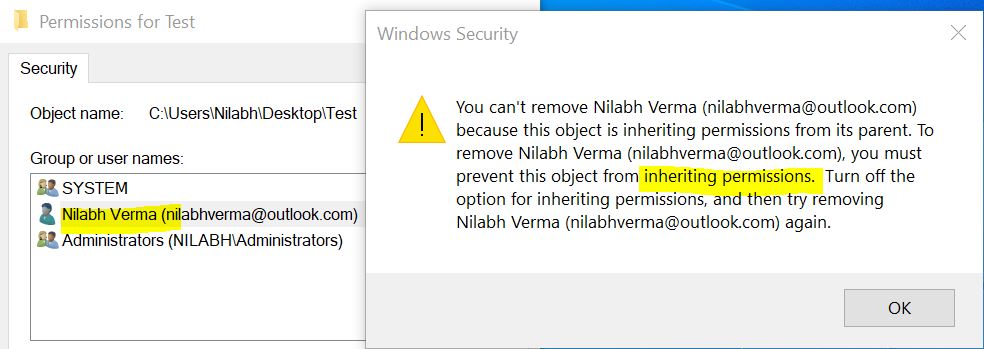
Oops… Yes, this is not so simple. When you give any permission to any folder, by default that permission will inherit to all the subfolders and files under that. Let’s check some advanced features of NTFS permission.
Click on the Advanced button under Security tab.
You will see completely new Window. To remove the user, you need to first disable the inheritance. To do that, click on the user and then click on Disable inheritance. It will give you a pop-up Window, there select “Remove all inherited permissions from this object”.

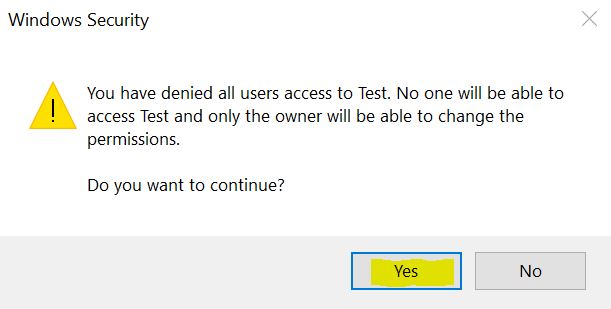
Now Apply. Since all the permissions are inherited, it’s giving the warning that all permission will go and no one will see the content of the folder. Click Yes on the confirmation.
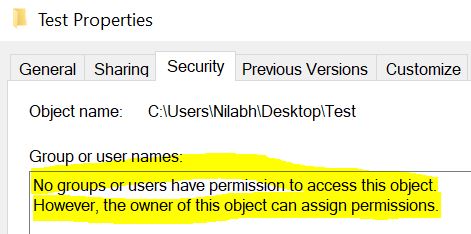
Now you will see no one in the ACL permission.
Now try to open the folder and you will see you can’t since there is no access on that folder. Since I am the Enterprise Administrator, it’s offering me to get the permanent access. Normal users will not have any option to go inside that folder at all.
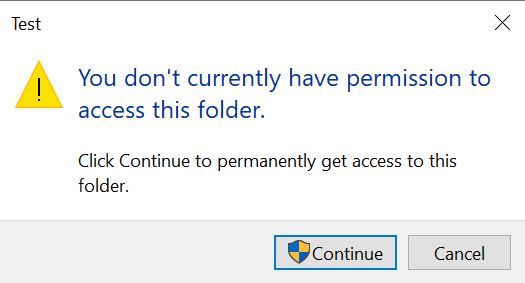
If I click on Continue, it will automatically add my account in ACL with Full Access. Again remember, I could do that only because I am the Enterprise Administrator.
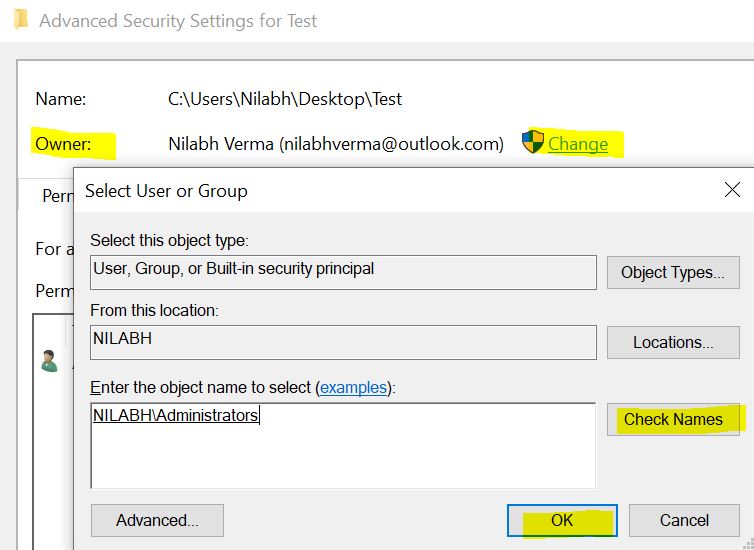
Now let’s understand few important things. Click again on Advanced, you will see the Ownership of that folder, which is me. At a time, only one user can take Ownership of any object. Means, you can give Full Access to as many users you want, but there will be only one Owner for that object.
Since I have Full Access on that folder and I am the Owner, I can change the Ownership. Suppose I want to make Administrators as Owner of this folder. To do that click on Change. There select Administrators and click Ok and then Apply.
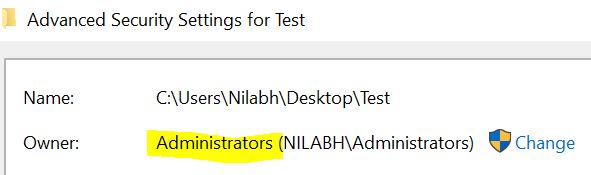
Now you can see Administrators as the new Owner of the folder.
Now check out the Granular permission on that folder. From the same Advanced menu, click on Add.
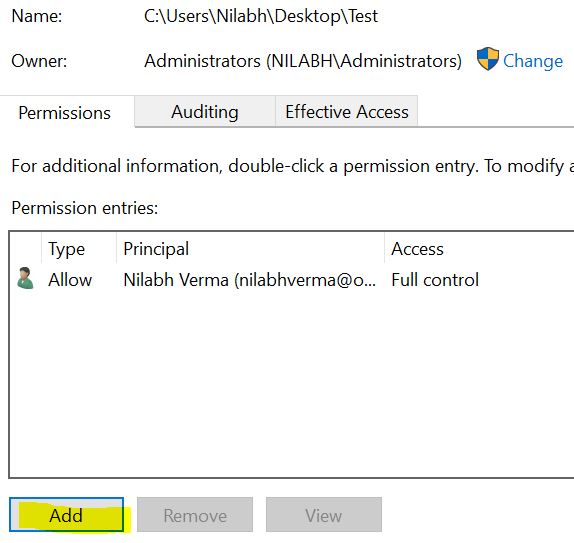
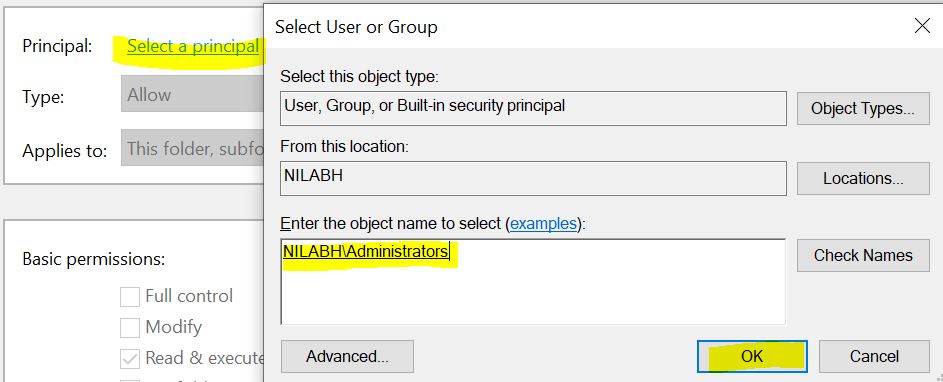
Click on Select a principal and select the user you want to add.
There you will see pretty much the same options as earlier, but there are few advanced things to explore.
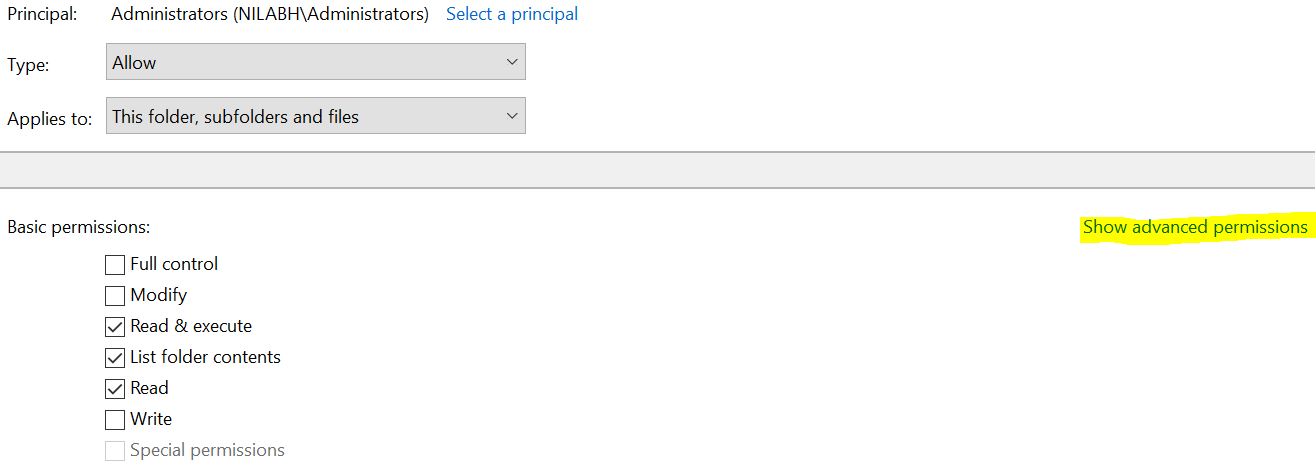
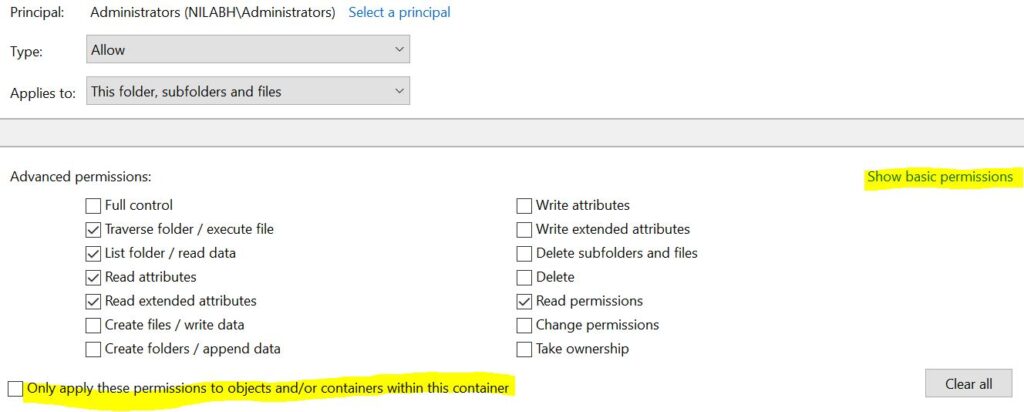
If you click on Show advanced permissions, it will give you more customized options for the access. If you click on Full Access, automatically all the options will be selected.
As I told earlier, when you apply any permission, that will by default inherit to all the folders, subfolders and files inside that folder. In case you don’t want to inherit the permission and keep it only on that specific folder, check the “Only apply these permissions to objects and/or containers within this container” box at the bottom.
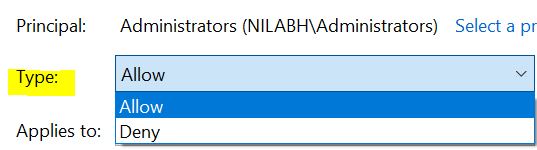
You can click on Type to select between Allow or Deny the access.
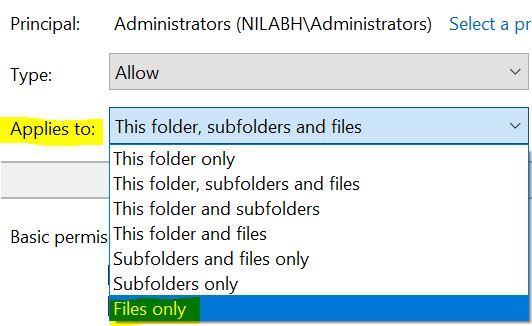
Similarly if you click on Applies to option, you will see more Granular options where you can precise your access. Like we can apply access on folder, subfolder or only file level.
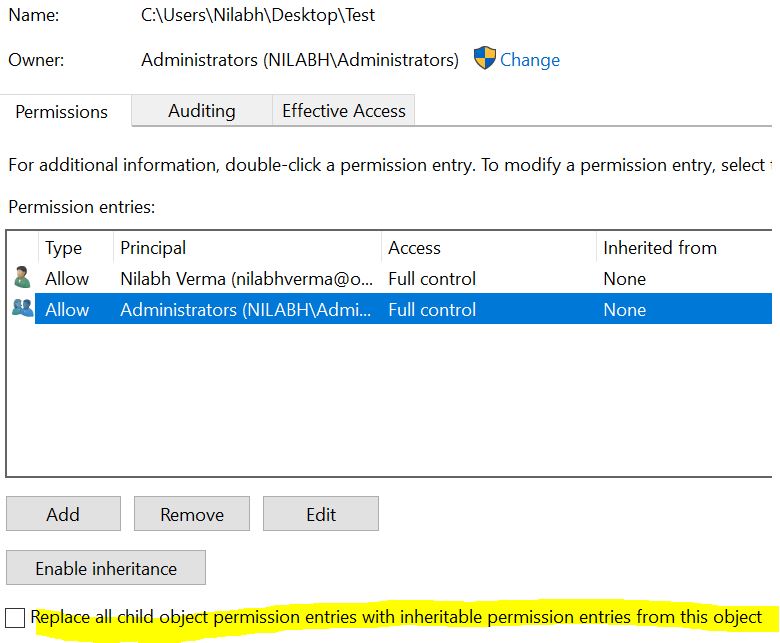
If you want to force the permission to all the subfolders and files under the parent folder, click on “Replace all child object permission entries with inheritable permission entries from the object”.
If you want to implement all the inherit permission which is coming from parent folders, you can simply click on Enable inheritance button.
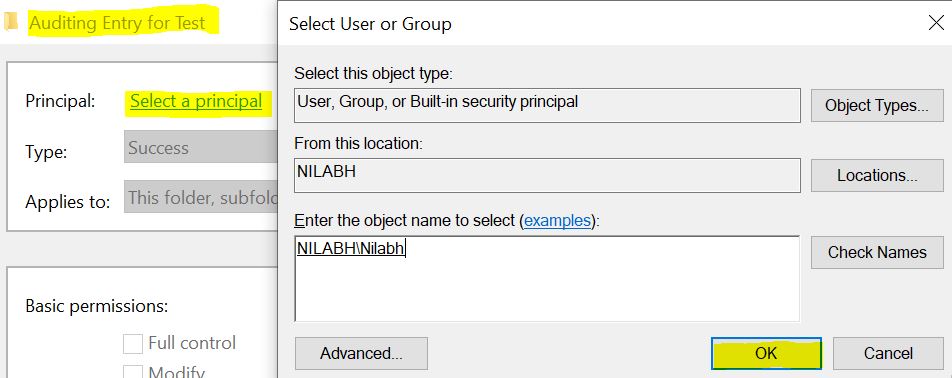
If the folder or file is very important and you want to enable the Auditing (logging) for that, click on Auditing tab and click on Continue.

Same way, add any users/group you want to allow to see the Auditing Logs.
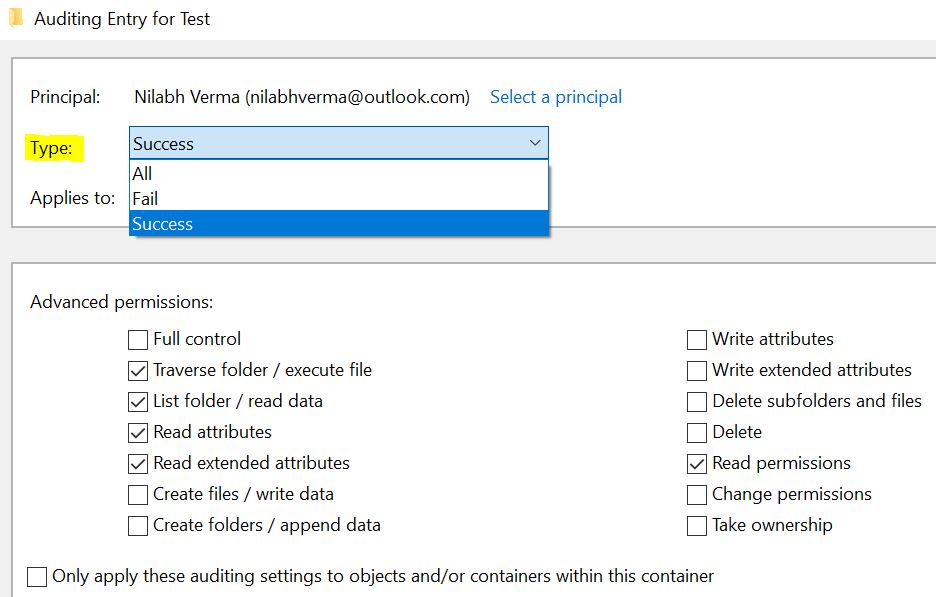
There everything will be same except the Type of Auditing log you want to generate – All, Fail or Success. You can select All to get logs for all the users who successfully accessed that folder or failed.
The last thing is to check the Effective Access. For example I want to find out what level of access any user has, we can do it from Effective Access tab. This is very useful for troubleshooting. Suppose any user is complaining that he can’t access that folder, you can simply check what kind of access he has, which saves lot of time.
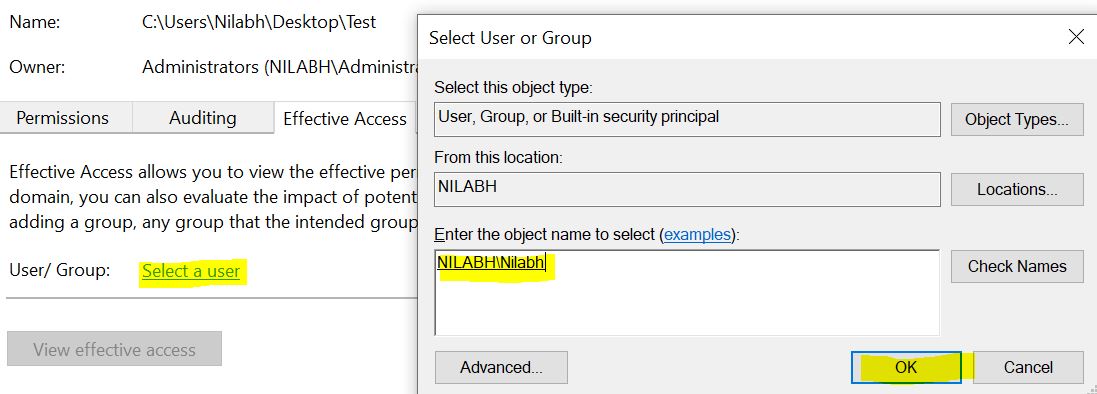
Suppose I want to see what level of access I have. To see that, go to Effective Access tab, click on Select a user and give my user ID.
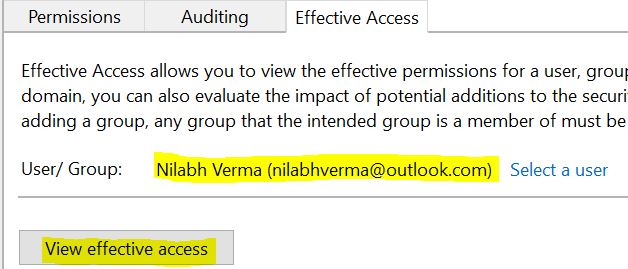
Once user is selected, just click on View effective access.
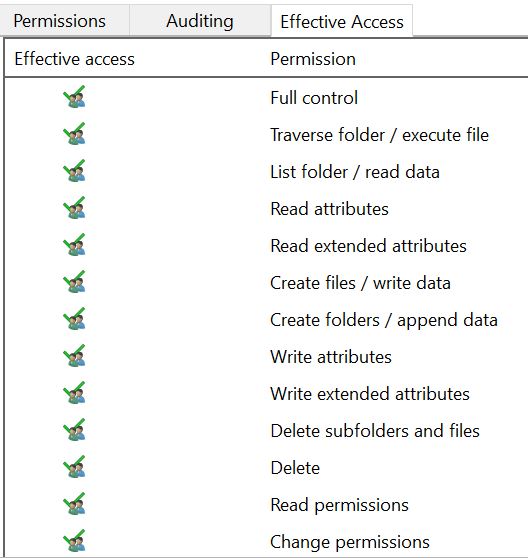
This will give you list of every possible access I have on that folder/file. Isn’t it wonderful and useful?
I hope this clarifies most of your queries related to NTFS permissions. In case you still have any questions, please feel free to reach us. Cheers!
Hi Sir,
Your content is pretty good and easy to understand. Thanks a lot for you efforts.
Thanks Ravali…
Very good article. Thanks a lot
Thanks a lot, do check our other informative articles and share your feedback.