Introduction
OpenVPN is an open-source third-party software that uses virtual private network (VPN) techniques to create secure point-to-point or site-to-site connections in routed or bridged configurations and provides remote access facilities. It uses a custom security protocol that utilizes SSL/TLS for key exchange.
OpenVPN uses the client-server connection to provide secure communication between the client and the internet. The Server is directly connected to the internet and the client connects to the Server which eventually connects to the internet.
The Authentication on OpenVPN is based on pre-shared secret keys, certificates and username and password of the end user. It releases certificate for every client connected to OpenVPN Server.
In simplified language, if you do not want to expose your infrastructure to be publically accessible, then we need to implement a VPN. In order to access all the servers in the private network, we need to be connected to VPN Server first.
In this blog, I will show you the steps to install and configure OpenVPN Server and how to connect to your private servers (using the private IP address). For our implementation, We will be using an ec2 server on AWS Cloud.
Pre-requisite.
AWS Account – To Launch and Configure OpenVPN on ec2 Server.
VPC with Public and private Subnet.
Launch an ec2 Linux instance and login to it to begin the setup process. instance type will depend upon the load on the VPN Server.
Also, make sure that the following ports should be open on the security group
- Custom UDP and TCP rule: 1194
- SSH: 22
- Custom TCP rule: 943
- HTTPS: 443
Install NTP and wget,
ubuntu@ip-10-0-1-55:~$ sudo apt install wget ntp
Check whether the system clock is synchronized or not by using “timedatectl” command.
Now download the OpenVPN Software package from the link. You can download based on the distribution of your OS. We will be using Ubuntu 18 for this setup and at the time of writing this blog, the latest version for OpenVPN was 2.6.1.
ubuntu@ip-10-0-1-55:~$ wget http://swupdate.openvpn.org/as/openvpn-as-2.6.1-Ubuntu18.amd_64.deb
Once you have downloaded the package, execute it using below command.
For ubuntu
ubuntu@ip-10-0-1-55:~$ sudo dpkg -i openvpn-as-2.6.1-Ubuntu18.amd_64.deb

For Redhat/CentOS
ubuntu@ip-10-0-1-55:~$ sudo rpm -ivh openvpn-as-2.6.1-CentOS7.x86_64.rpm
The output will be something like this,
Selecting previously unselected package openvpn-as.
(Reading database ... 56547 files and directories currently installed.)
Preparing to unpack openvpn-as-2.6.1-Ubuntu18.amd_64.deb ...
Unpacking openvpn-as (2.6.1-Ubuntu18) ...
Setting up openvpn-as (2.6.1-Ubuntu18) ...
The Access Server has been successfully installed in /usr/local/openvpn_as
Configuration log file has been written to /usr/local/openvpn_as/init.log

Please enter "passwd openvpn" to set the initial
administrative password, then login as "openvpn" to continue
configuration here: https://10.0.1.55:943/admin

To reconfigure manually, use the /usr/local/openvpn_as/bin/ovpn-init tool.

+++++++++++++++++++++++++++++++++++++++++++++++
Access Server Web UIs are available here:
Admin UI: https://10.0.1.55:943/admin
Client UI: https://10.0.1.55:943/
+++++++++++++++++++++++++++++++++++++++++++++++

Beginning with OpenVPN AS 2.6.0 compression is disabled by default and on upgrades as security patch.
So now we have to set the admin password for your OpenVPN Server, execute the below command,
ubuntu@ip-10-0-1-55:~$ sudo passwd openvpn
Enter new UNIX password:
Retype new UNIX password:
passwd: password updated successfully
Now, Login to the OpenVPN Access Server as an administrator.
https://public_ip/admin
It will Show the connection is not secured, as it uses the self-signed certificate. Just Click on Advance and Click on add exception and Confirm Security Exceptions
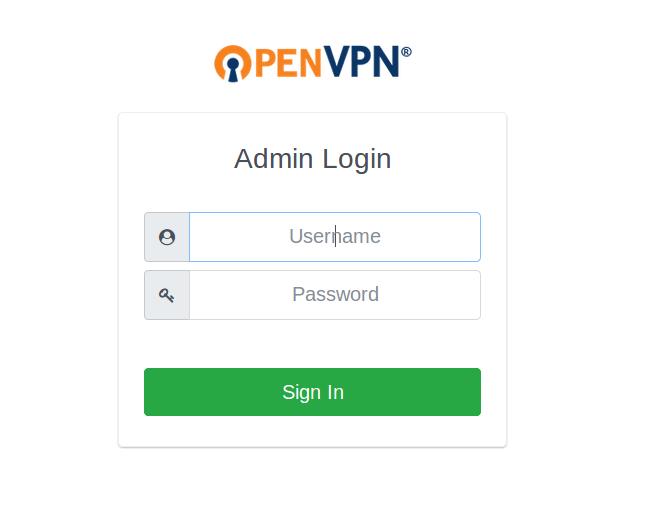
Login with your Username and password which you have set from the terminal above.
username: openvpn
pass: your password.
- Click on Agree to Accept the Licence agreement. You can now see the Admin Control panel.
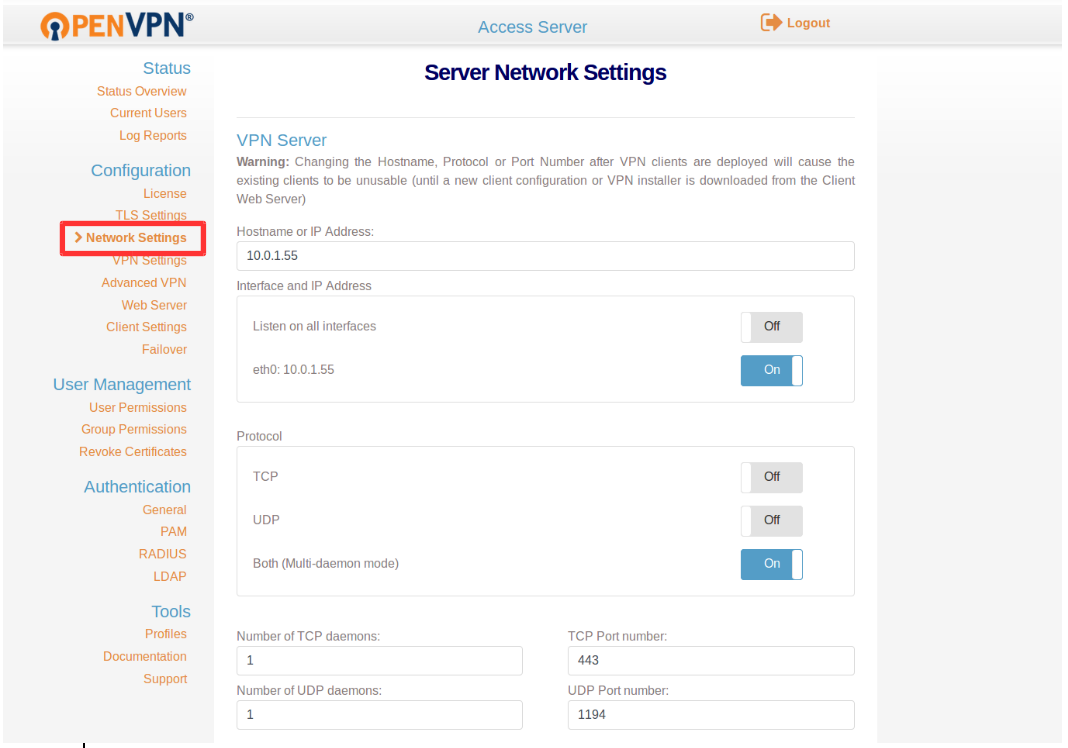
- Click On, Network Settings, and Provide the following details, though these details are available by default. Just cross verify it.
- Hostname or IP Address: IP_of _VPN_Server.(Public IP.)
- Interface and IP Address: Enable the Server interface (not listen on all interface)
- Protocol: Both (Multi-daemon mode)
- Under Admin UI: enable interface (eth0: IP)
- Under Client Web Server: Enable Use the same address and port as the Admin Web Server
Now Click On VPN Setting Under Configuration and Under the routing Section Select Yes, Using NAT and provide the Private Subnet from which all client should be given access to.
Also, You can enable the client traffic to be routed from VPN. but it’s better not to route the client traffic from the VPN Server.
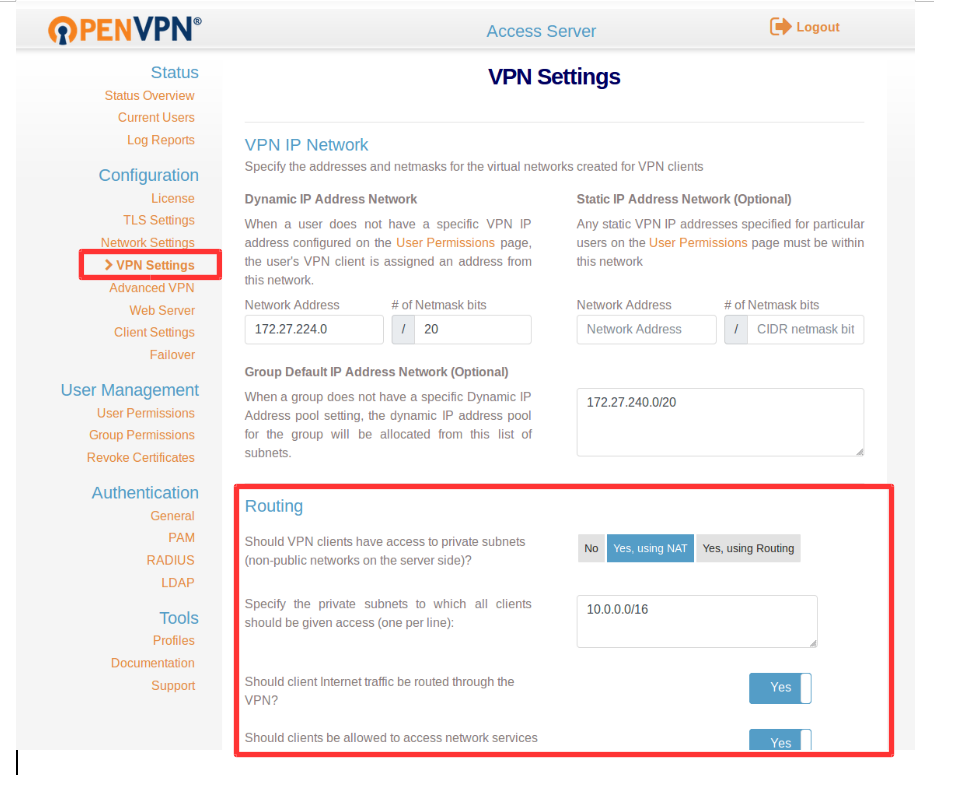
Click On Save Setting and Click Update Running server.
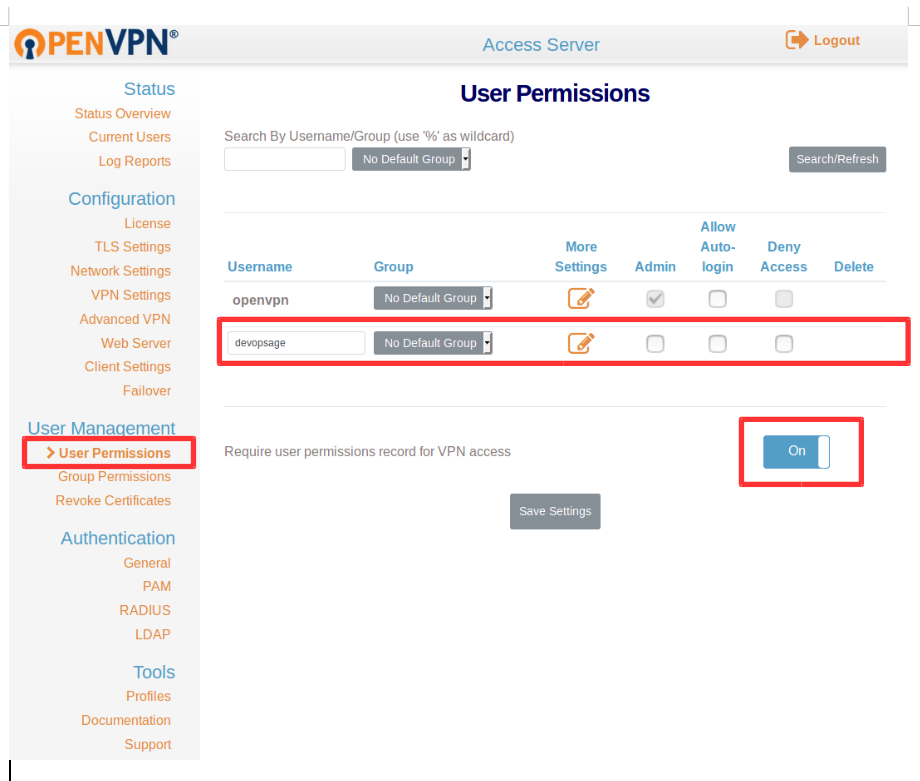
Now, let’s add a user and try to establish a connection to your private servers using that user’s credentials.
Click on User Permission under User Management.
Provide the name of the user and check on admin if you wanted to grant the admin access to him/her. Here we will add a normal user.
You can also enable Require user permissions record for VPN access for logging. (user login activity.)
Click on Save Settings and Click Update Running Server.
Note: Click on More Settings and set the password for the user.
Local Password: Your Password.
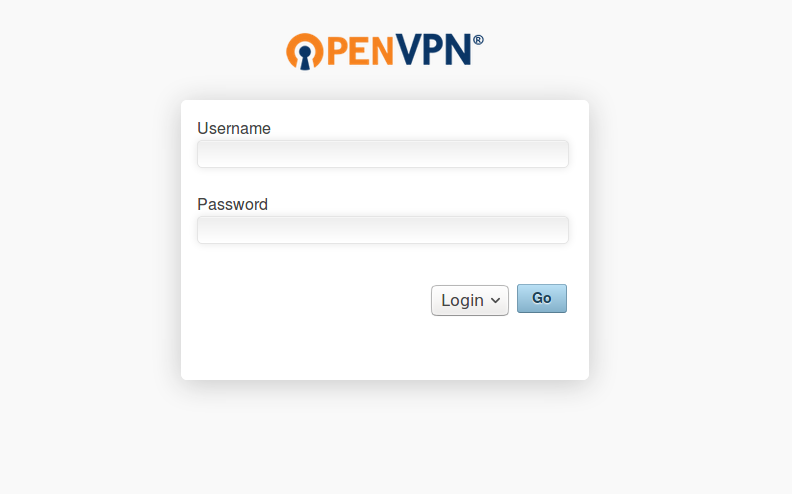
Now lets login as a normal user, https://public_IP_of_VPN_server (don’t use /admin).
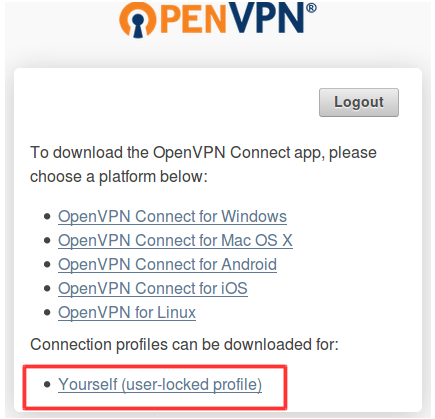
It will appear like below in the screenshot.
Provide your credential there and download your client.ovpn file to connect to OpenVPN. Click on Yourself (user-locked profile) to download client.ovpn file.
Now, once you have downloaded your
client.ovpn file try to connect the OpenVPN Server by executing below command. (Only when you have Linux client/ Using Ubuntu/other OS)
sudo openvpn --config ~/Downloads/client.ovpn
Provide your username and password and press enter. you will be connected to OpenVPN Server once the initialization sequence completed.
Now, try to connect to your servers in the private network, you should be able to directly login to your private instances using the private IP address.
Note: Do not close the terminal once connected, this will break your VPN connection.
Above command will only work for the Linux Client
For Windows user, Download the Windows client and connect from it.
We can also connect to OpenVPN Server Using the network manager, which We will see in the next blog.
You May Also Like!!
If you Like Our Content here at Devopsage, then please support us by sharing this post.
Please Like and follow us at, LinkedIn, Facebook, Twitter, and GitHub
Also, Please comment on the post with your views and let us know if any changes need to be done.
Thanks!!